How to Reheat Challah Bread
To reheat challah bread, you've got two reliable methods: oven or microwave. For oven reheating, wrap your challah in aluminum foil and heat at 350°F for 10-15 minutes, which helps maintain its signature soft texture and golden crust. If you're short on time, microwave individual portions wrapped in a damp paper towel at 50% power for 10-15 second intervals, checking frequently to prevent overheating. Always let your reheated challah rest for a minute before serving to allow the steam to settle and restore its ideal texture. These basic techniques are just the beginning of bringing your challah back to life.
This post may contain affiliate links. If you make a purchase through these links, I may earn a commission at no additional cost to you. Additionally, portions of this post may be generated using artificial intelligence (AI) technology. While we strive for accuracy, please be aware that AI-generated content may not always be perfect and should be fact-checked when necessary.
The Spatula Scoops
- Wrap challah in aluminum foil and heat in a preheated 350°F oven for 10-15 minutes until warmed through.
- Microwave sliced challah wrapped in damp paper towels at 50% power for 10-15 seconds, checking frequently.
- Place challah on a covered skillet over low heat to warm gently while maintaining moisture.
- Heat challah in an air fryer at 350°F for 3-5 minutes for a crispy exterior.
- Allow reheated challah to rest on a wire rack after warming to let steam settle for optimal texture.
What Makes Challah Special
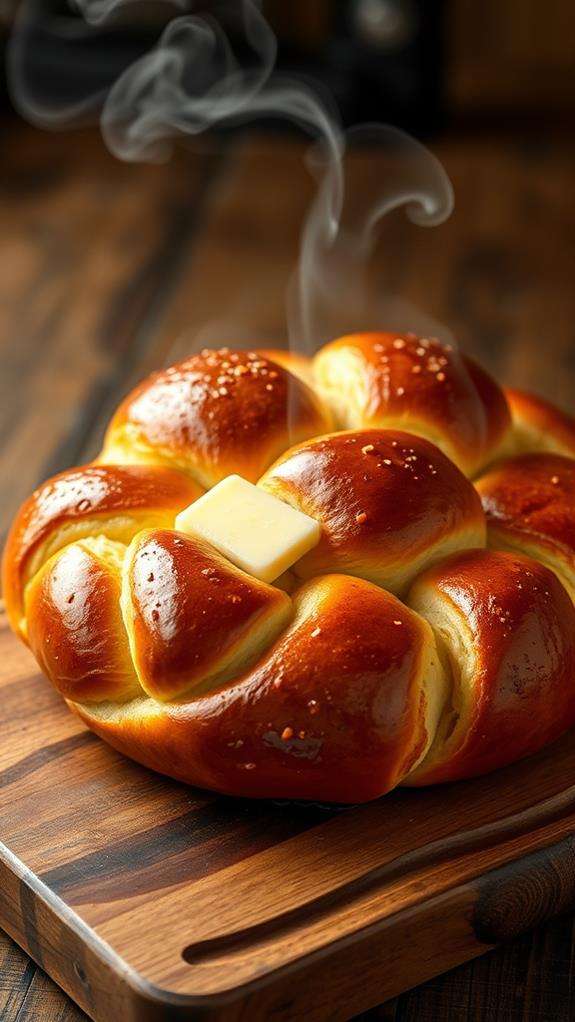
A golden loaf of challah brings more than just beautiful aesthetics to the table – it's a bread steeped in rich tradition and meaning. As a traditional Jewish bread, challah stands out for its distinctive braided appearance and deeply spiritual significance in Jewish culture, where it plays a central role in Shabbat and holiday celebrations.
You'll find that challah's rich flavor comes from its egg-enriched dough, which creates a uniquely soft texture that sets it apart from other breads. The inclusion of eggs not only contributes to its characteristic golden hue but also results in an airy, pillowy interior that you won't find in standard bread varieties. When you're sharing challah at festive meals, you're participating in a tradition that spans generations.
What truly makes challah special is its role in fostering community and family bonds. Whether topped with sesame seeds, incorporating honey, or studded with raisins, each variation maintains the bread's traditional essence while offering something unique. The weekly ritual of separating challah before baking adds another layer of meaning, connecting modern bakers to ancient Jewish practices.
Best Storage Methods
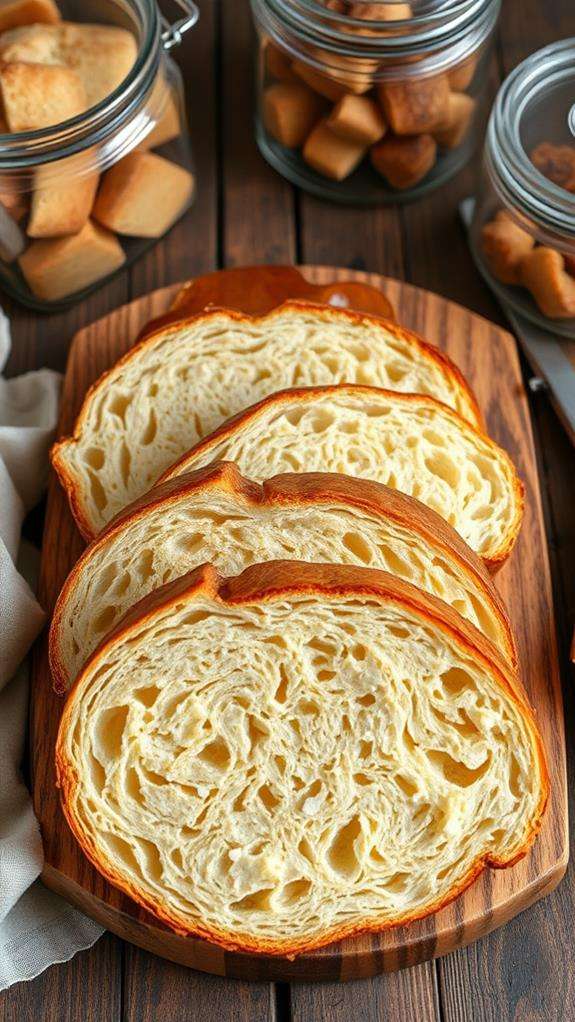
Proper storage of challah guarantees you'll enjoy its soft, pillowy texture well beyond the day it's baked. To store challah at room temperature, place it in an airtight container or plastic bag, making sure to squeeze out any excess air that could trap moisture and lead to mold growth. You'll find your challah stays fresh for up to a week when stored properly at room temperature.
For long-term storage, your freezer is your best friend. First, wrap your challah tightly in plastic wrap to create a protective barrier, then place it in an airtight freezer bag. Remember to press out as much air as possible before sealing – this prevents freezer burn and preserves the bread's quality. While it might be tempting to refrigerate your challah, don't do it. The refrigerator's environment actually speeds up the staling process, making your bread dry and unpalatable faster than if you'd left it at room temperature. If you're storing a whole loaf, consider using a bread box, which provides the perfect balance of air circulation and protection from external heat sources.
Room Temperature Storage Guidelines
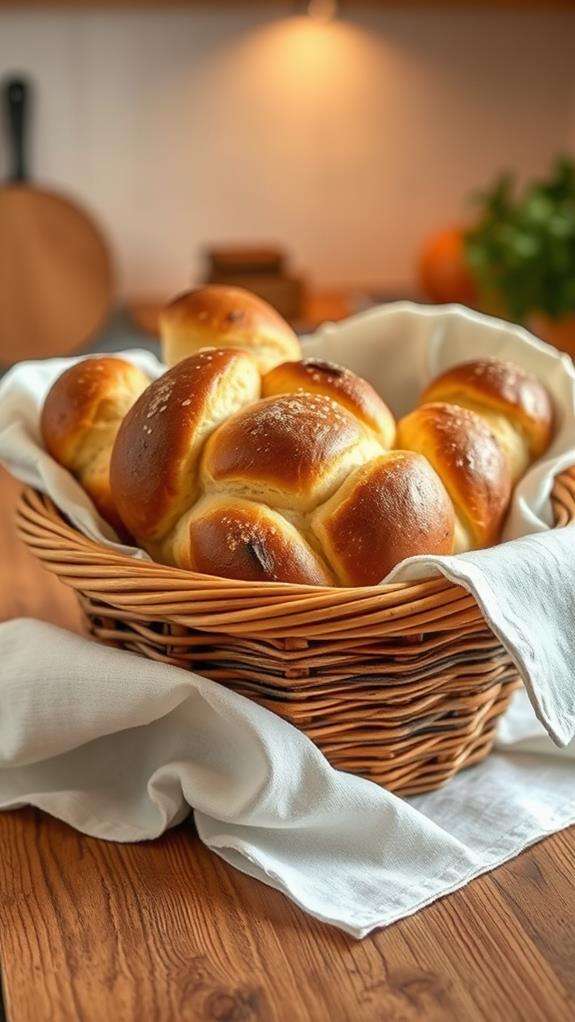
Your challah bread will stay fresh at room temperature for up to a week when stored properly in an airtight container or high-quality ziplock bag, which creates the ideal environment to maintain its signature texture. For optimal humidity control, you'll want to press out as much air as possible before sealing your storage container, preventing moisture loss that leads to premature staleness. While plastic bread bags work well for short-term storage, consider using a ceramic bread box with proper ventilation if you're planning to keep your challah on the counter for several days, as it helps regulate moisture while allowing the bread to breathe.
Ideal Storage Duration Limits
Fresh challah bread's ideal storage duration at room temperature spans 2 to 4 days when kept in an airtight container or sealed bag. You'll want to pay close attention to how you store bread during this timeframe, as proper storage techniques can make a significant difference in maintaining its soft, delectable texture.
To maximize your challah's shelf life, you'll need to focus on preventing moisture loss while protecting against mold growth. When you wrap your challah tightly in plastic wrap or foil, you're creating a barrier that helps maintain the bread's natural moisture levels. While you might be tempted to refrigerate your challah to extend its life, don't – this actually accelerates the staling process and compromises the bread's texture. Instead, if you're aiming for longer storage, you can extend freshness up to 7 days by removing as much air as possible from your storage container or bag. Remember that the quality will gradually decline after day 4, so it's best to plan your consumption accordingly. If you notice any signs of mold or unusual odors before the suggested timeframe, it's safer to discard the bread.
Proper Container Selection Tips
Building on the importance of storage duration, selecting the right container plays a key role in maintaining your challah's quality. When storing your bread at room temperature, you'll want to choose between several practical options that balance moisture control and freshness preservation.
Your best choice for daily storage is an airtight container, which creates the perfect environment to keep your challah fresh without trapping excess moisture. If you don't have one handy, a paper bag works well for short-term storage, as it allows your bread to breathe while preventing premature staleness. You'll want to avoid using plastic or freezer bags at room temperature, as they can create a humid environment that promotes unwanted mold growth. For those living in particularly warm or humid climates, investing in a bread box is worth considering, as it provides ideal air circulation while protecting your challah from environmental factors. Remember to remove as much air as possible when sealing your container, regardless of which storage method you choose. This simple step helps maintain the bread's natural moisture balance and extends its shelf life considerably.
Humidity Control Methods
At room temperature, proper humidity control makes all the difference in maintaining your challah's ideal texture and preventing unwanted moisture issues. You'll want to find the sweet spot between too much and too little humidity, as excess moisture can quickly lead to mold growth while overly dry conditions will make your challah bread stale faster.
To manage humidity levels effectively, store your challah in an airtight container or bread box that allows minimal airflow while protecting it from environmental moisture. If you notice your kitchen tends to be humid, wrap your challah in a paper bag or breathable cloth instead of plastic, as this will help absorb excess moisture without trapping it against the bread's surface. When room conditions are particularly humid, you'll need to monitor your challah more closely and consider freezing challah portions you won't consume within a day or two. Remember that moisture buildup is your biggest enemy when storing bread at room temperature, so if you're experiencing persistent humidity issues, it's better to err on the side of caution and freeze your challah for later use.
Freezing Your Challah
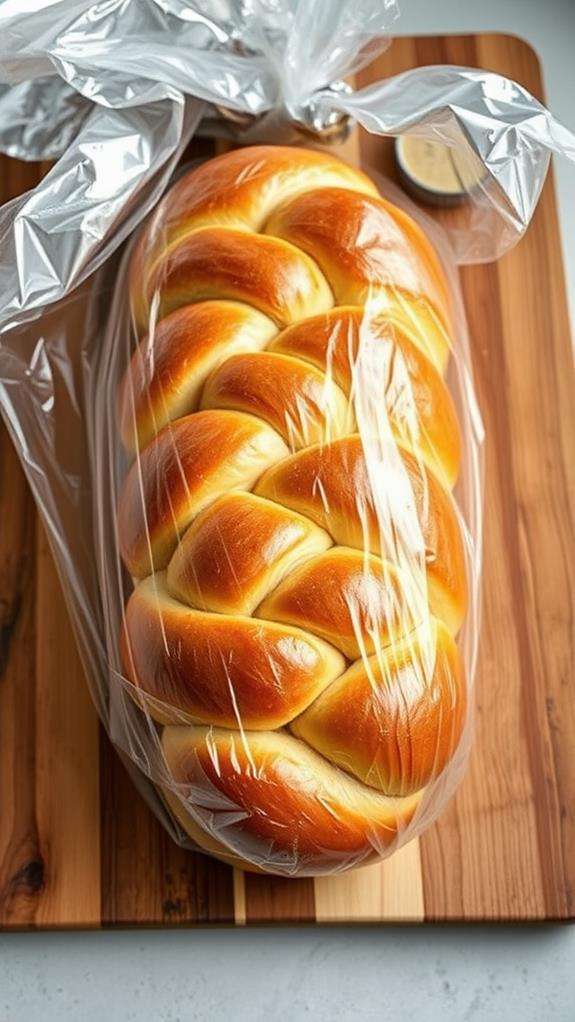
Preservation of your delicious challah bread doesn't have to be complicated when you know how to freeze it properly. The best place for storing your challah long-term is your freezer, where it'll stay fresh for up to three months when you follow the right steps. Before you freeze challah, let it cool completely to prevent excess moisture resulting in mold.
Follow these essential steps for ideal freezing results:
- Allow your whole loaf of bread to reach room temperature naturally
- Wrap the challah tightly in a layer of plastic wrap, ensuring no exposed areas
- Place the wrapped bread in a heavy-duty freezer bag
- Remove as much air as possible from the bag before sealing
- Label the bag with the date of freezing for tracking
When you're ready to use your frozen challah, thaw the frozen challah while it's still wrapped. This method helps maintain the bread's moisture balance and prevents it from becoming dry or soggy. You can choose to freeze your challah whole or pre-slice it before freezing, making it more convenient to remove individual portions as needed.
Oven Reheating Steps
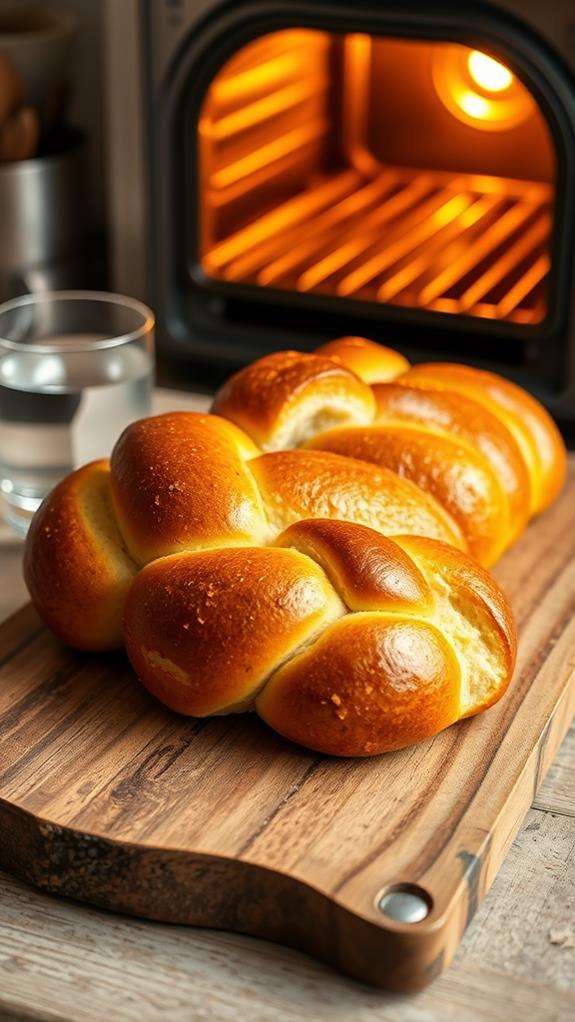
Once you've properly stored and thawed your challah, reheating it in the oven will bring back its fresh-baked warmth and texture. Start by setting your oven to 350 degrees Fahrenheit (175°C), allowing it to fully preheat before you begin the reheating process.
While your oven's heating up, wrap the challah in aluminum foil, making sure to cover it completely to lock in moisture and prevent the crust from becoming too hard. If you're working with individual slices of bread, wrap them separately to guarantee even warming throughout. Place your wrapped challah on a baking sheet and transfer it to the preheated oven.
Bake the wrapped challah for 10-15 minutes, adjusting the time based on your loaf's size. For individual slices, you'll likely need only 8-10 minutes. Once your bread is warmed through, remove it from the oven and place it on a wire rack. Let it cool slightly before unwrapping to allow the steam to settle, which helps maintain the bread's texture. This cooling period is essential for achieving the perfect balance of warmth and moisture in your reheated challah.
Microwave Reheating Techniques
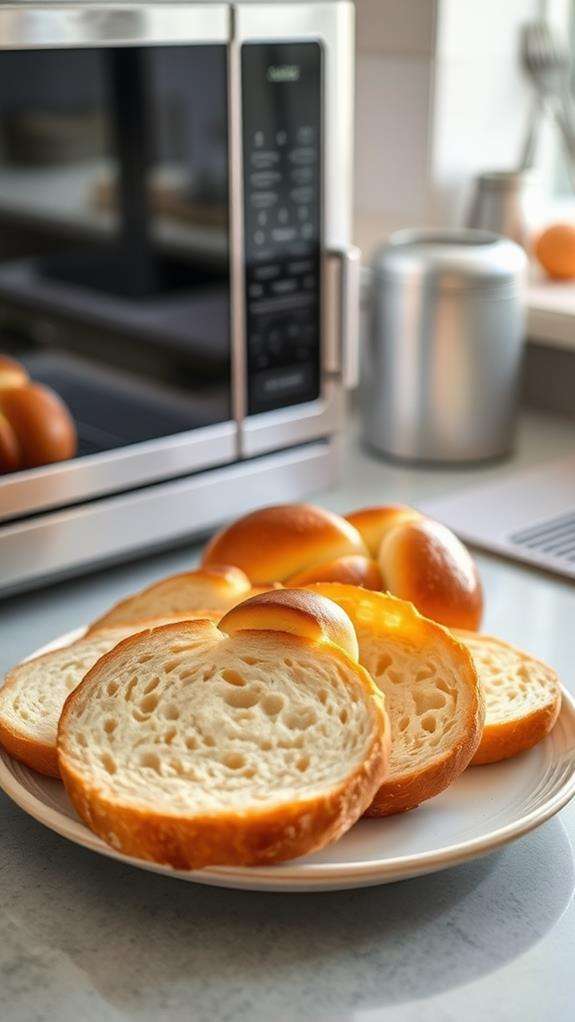
When you're using your microwave to reheat challah, you'll need to monitor the heating process closely to prevent the bread from becoming tough or rubbery. Your key to success lies in wrapping each portion, whether it's a single slice or whole loaf, in a damp paper towel that acts as a moisture barrier and helps create a steamy environment. To maintain the bread's soft texture, you'll want to use 50% power setting and heat in short bursts of 10-15 seconds, checking frequently until your challah reaches the perfect warmth.
Quick Heat Safety Tips
Successfully reheating challah bread in the microwave requires careful attention to prevent it from becoming tough or dry. When you're ready to reheat challah, remember that moisture control and power management are vital for maintaining its soft, delectable texture. You'll want to wrap your bread in a damp paper towel, which acts as a moisture barrier during the heating process.
Here are essential safety tips to guarantee perfect results:
- Always use 50% low power setting to prevent uneven heating and potential hot spots
- Check the loaf every 10-15 seconds during reheating to avoid overcooking
- Allow proper spacing when heating individual slices for even heat distribution
- Keep the damp paper towel wrapped securely around the bread while heating
- Let the bread rest for one minute after heating to benefit from natural steaming
Remember that microwave wattages vary, so you'll need to adjust heating times accordingly. For individual slices, place them on a microwave-safe plate rather than directly on the turntable. This practice promotes better air circulation and helps maintain the bread's desired texture. By following these guidelines, you'll guarantee your challah maintains its delightful consistency without becoming dried out or rubbery.
Moisture Control Methods
Maintaining proper moisture levels while microwaving challah bread marks the difference between perfectly reheated bread and a tough, inedible result.
To achieve the ideal fluffy texture, you'll want to wrap individual challah slices in a damp paper towel, ensuring the moisture can evenly distribute during the reheating process. When you're working with the microwave's temperature settings, set your power level to 50% – this gentle heat allows for better moisture retention and prevents the bread from becoming tough. You'll need to heat single slices for 10-15 second intervals, checking frequently to maintain the right consistency.
If you're reheating larger portions or a whole loaf, you'll need to adjust your moisture control methods accordingly. Use a slightly damper paper towel and extend the heating time to 30-60 seconds, depending on the bread's thickness. After the reheating process, let your challah rest for about a minute – this resting period allows the retained moisture to redistribute throughout the bread. Remember not to reheat frozen challah directly; always thaw it first to preserve its delicate texture.
Maintaining Challah's Texture
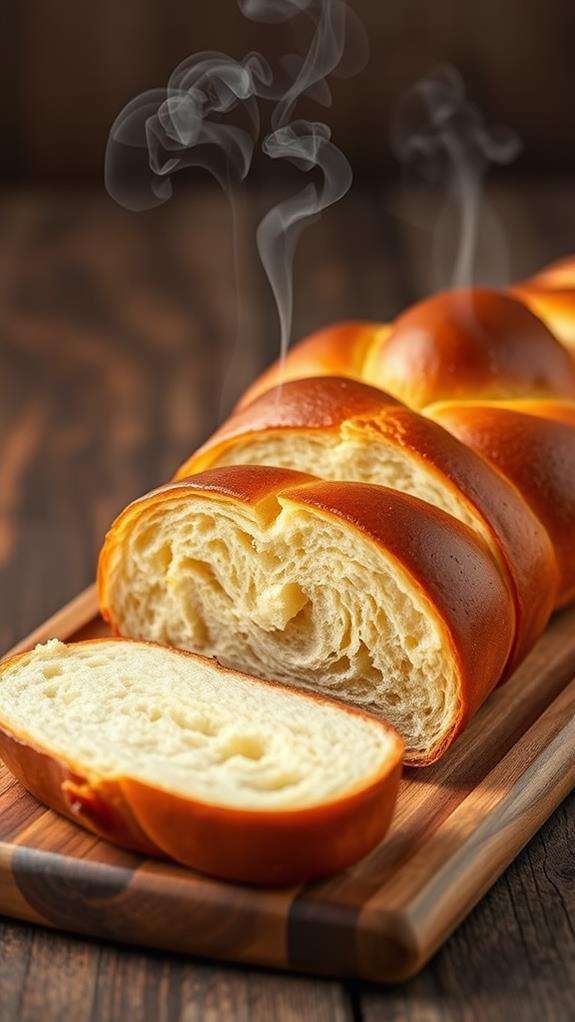
The texture-perfect challah depends on your reheating method and careful attention to timing. You'll want to maintain that delicate balance between moisture and crispiness that makes challah so special. When using your oven, wrap the bread in foil to preserve its moisture while achieving an even reheat throughout.
- Set your oven to 350°F and preheat completely before reheating your challah
- Cover sliced challah with aluminum foil to prevent excessive browning and maintain moisture
- Use a damp paper towel wrap when microwaving for 30-60 seconds to keep the bread soft
- Place reheated challah on a wire rack immediately to prevent moisture from collecting
- Consider using a toaster oven for individual slices when you're craving a crispy exterior
Your choice of reheating method will greatly impact the final texture. For whole loaves, the conventional oven method offers the most consistent results, while the microwave works well for quick individual servings. Remember to monitor the bread closely during reheating, as even a minute too long can lead to dried-out challah. After reheating, let your bread cool slightly before serving to allow the texture to stabilize.
Common Storage Mistakes
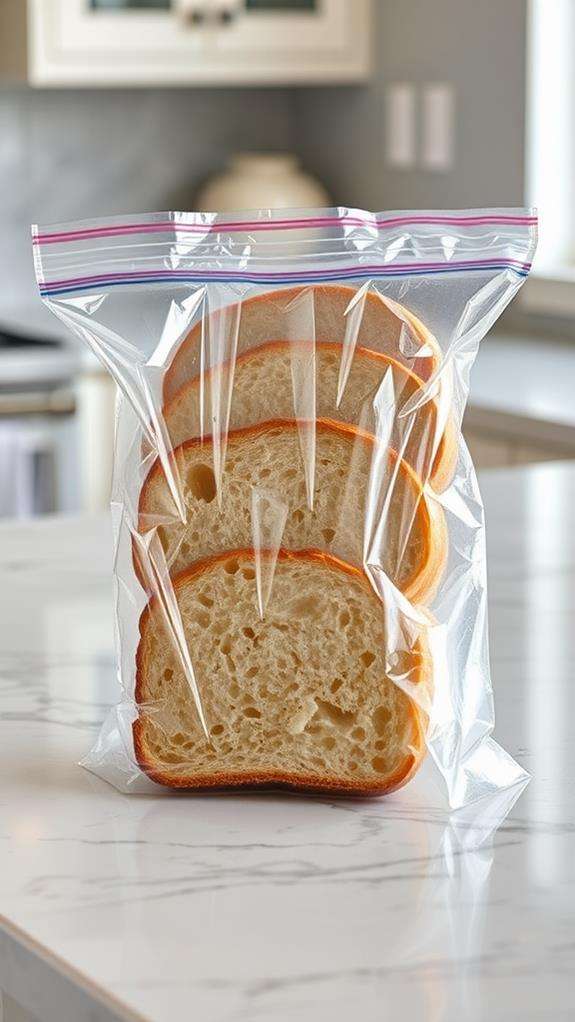
Many home bakers unknowingly compromise their challah's quality through common storage mistakes. When you don't store your challah properly, you'll face issues that can greatly impact its taste and texture. One of the biggest errors is refrigerating your challah, which actually speeds up the staling process rather than preserving freshness.
| Storage Mistake | Consequence | Prevention |
|---|---|---|
| Refrigeration | Accelerated staling | Store at room temperature |
| Loose wrapping | Moisture loss | Wrap tightly in plastic |
| Improper cooling | Soggy texture | Cool on a wire rack completely |
| Air in storage bags | Freezer burn | Remove excess air before freezing |
| Delayed freezing | Spoilage | Freeze within 2-3 days |
To maintain your challah's quality, you'll need to avoid these vital storage mistakes. Don't wrap your bread until it's completely cooled on a wire rack, as trapped heat creates unwanted moisture. When freezing, make sure you've removed as much air as possible from the storage container to prevent freezer burn. Remember, if you're not planning to eat your challah within a few days, freezing is your best option for long-term storage, but timing is essential.
Creative Leftover Challah Uses
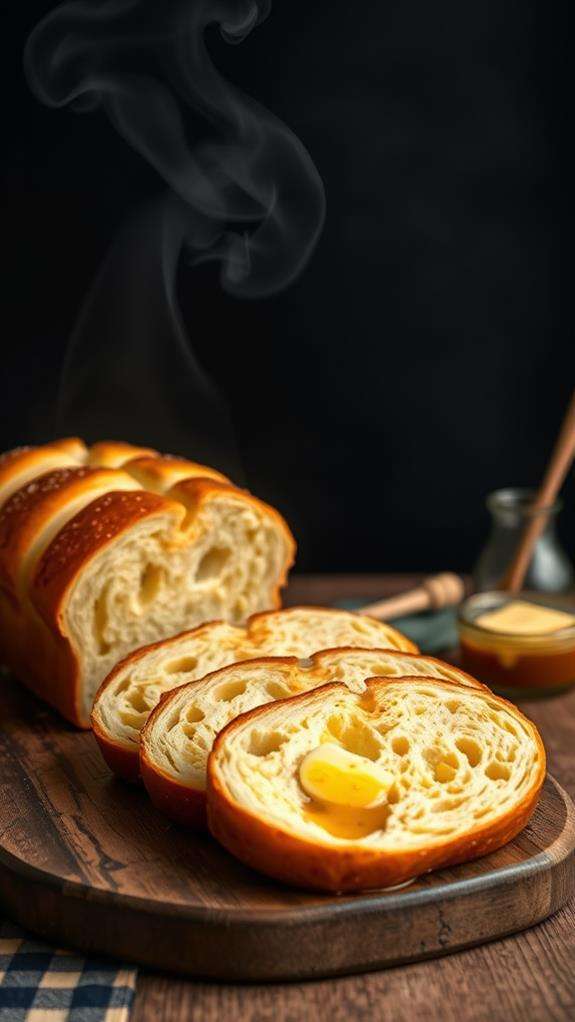
Leftover challah presents numerous opportunities for creating delicious dishes beyond its traditional form. Hearty soups and stews can also benefit from leftover bread as a perfect accompaniment. When you've got a loaf that's starting to dry out, don't let it go to waste in a bag – transform it into something extraordinary. Your toaster oven can help breathe new life into this versatile bread, though baking time will depend on your chosen recipe.
Here are five creative ways to use your leftover challah while maintaining its delicious flavor:
- Transform slices into decadent French toast by soaking them in an egg-milk mixture enhanced with vanilla
- Create a rich bread pudding using day-old cubes combined with cream, eggs, and your favorite spices
- Make crispy, herb-infused croutons perfect for salads by tossing cubes with olive oil and seasonings
- Convert stale pieces into versatile breadcrumbs for coating proteins or topping casseroles
- Craft gourmet sandwiches by combining your favorite fillings and grilling until golden brown
These transformations work best with challah that's slightly stale, as the firmer texture helps the bread maintain its structure while absorbing new flavors. Each method offers a unique way to extend your challah's life while creating entirely new dining experiences.
Frequently Asked Questions
How to Refresh Challah Bread?
To refresh your challah bread, you've got several effective options. Wrap the whole loaf in foil and bake at 350°F for 10-15 minutes, or toast individual slices in a foil-wrapped packet. For a quick fix, you can microwave it with a damp paper towel for 10-15 seconds. If your challah's frozen, let it thaw in the fridge overnight before reheating. Don't forget to cool it on a wire rack afterward to maintain its texture.
How to Reheat Bread Without It Getting Hard?
You'll keep your bread soft and fresh by wrapping it in a damp paper towel before microwaving, while skipping this step leads to tough, chewy results. For best outcomes, cover the bread with aluminum foil and warm it in a 350°F oven, or use your toaster oven for individual slices. Don't forget to serve immediately after reheating, as letting it sit will cause the bread to lose its warmth and become firm.
Is Challah Bread Served Warm?
Yes, challah bread is traditionally served warm, especially during Shabbat and Jewish holidays. You'll find that warm challah enhances both its texture and flavor profile, making the bread softer and more aromatic. When you serve it warm, you'll notice the subtle sweetness becomes more pronounced, and the interior stays delightfully tender. You can easily warm your challah before serving by wrapping it in foil and heating it briefly in the oven.
Can You Microwave Challah?
Like giving your bread a cozy blanket, you can microwave challah, but you'll need to do it right. Wrap your challah in a damp paper towel before popping it in the microwave, and heat it in short 30-second bursts on high power. You'll want to watch it closely, as microwaving can quickly turn your soft challah into a tough, chewy mess. For best results, don't microwave longer than 60 seconds total.


