How to Reheat a Bloomin Onion
You'll get the best results reheating your Bloomin' Onion in an air fryer at 350°F for 5-6 minutes, making certain to coat it lightly with cooking spray and shake the basket occasionally. If you don't have an air fryer, use your oven at 400°F for 6-10 minutes, flipping halfway through, or microwave it for 1-2 minutes as a last resort, though this method won't maintain crispiness. Before reheating, gently separate the petals and cut larger sections into manageable pieces for even heating. For food safety, confirm your leftover onion is within the four-day storage limit and hasn't developed any off-odors. The following techniques will help you achieve restaurant-quality results at home.
This post may contain affiliate links. If you make a purchase through these links, I may earn a commission at no additional cost to you. Additionally, portions of this post may be generated using artificial intelligence (AI) technology. While we strive for accuracy, please be aware that AI-generated content may not always be perfect and should be fact-checked when necessary.
The Spatula Scoops
- Air fry at 350-370°F for 5-6 minutes with cooking spray, shaking basket occasionally for optimal crispiness.
- Bake in preheated oven at 400°F for 6-10 minutes, flipping halfway through for even heating.
- Microwave for 1-2 minutes covered with paper towel when speed is priority, though crispiness will be reduced.
- Separate onion petals before reheating and cut into smaller portions for more efficient, even heating.
- Heat to internal temperature of 165-185°F and let rest one minute before serving with preferred dipping sauce.
Best Reheating Methods
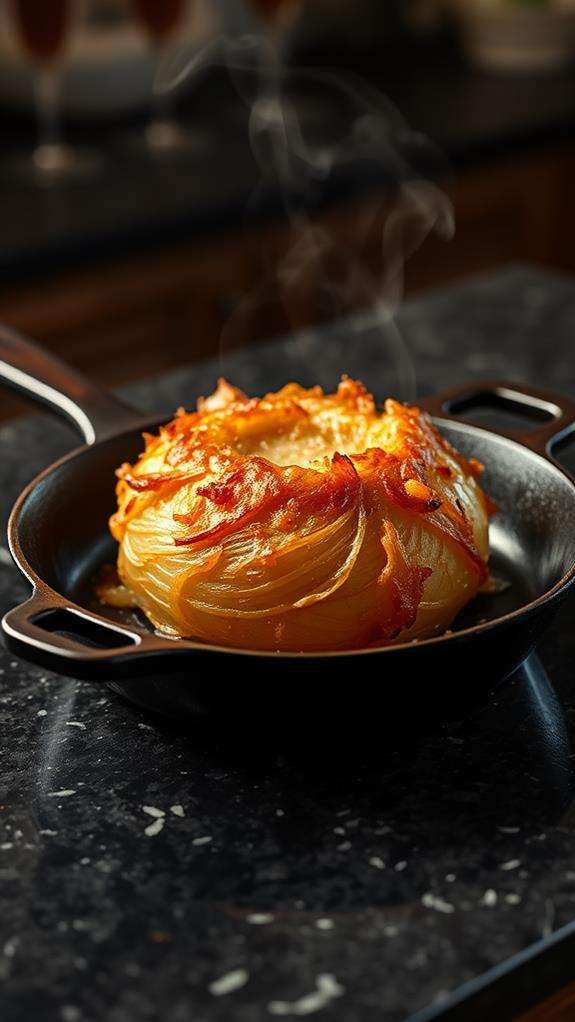
Looking into the best methods for reheating a Bloomin' Onion, the air fryer stands out as the top choice. You'll get the best results by setting your air fryer to 350°F or 370°F and letting it work its magic for just 5-6 minutes, guaranteeing that perfect crispy texture you're after.
If you don't have an air fryer, your oven can be your next best option. Preheat it to 400°F, and you'll need about 6-10 minutes to achieve that desirable crunch, making sure to flip your onion halfway through. For either method, you'll want to separate the petals before reheating to guarantee even heating throughout the entire appetizer.
While the microwave offers the quickest solution at 1-2 minutes, you'll sacrifice some of that signature crispiness. If you do use the microwave, cover your Bloomin' Onion loosely with a paper towel to manage moisture. Whatever you do, avoid using a deep fryer or pan for reheating, as these methods will only add unnecessary oil and calories to your dish. Remember, the goal is to restore your Bloomin' Onion to its former glory, not create a grease-soaked disappointment.
Preparing Your Bloomin Onion
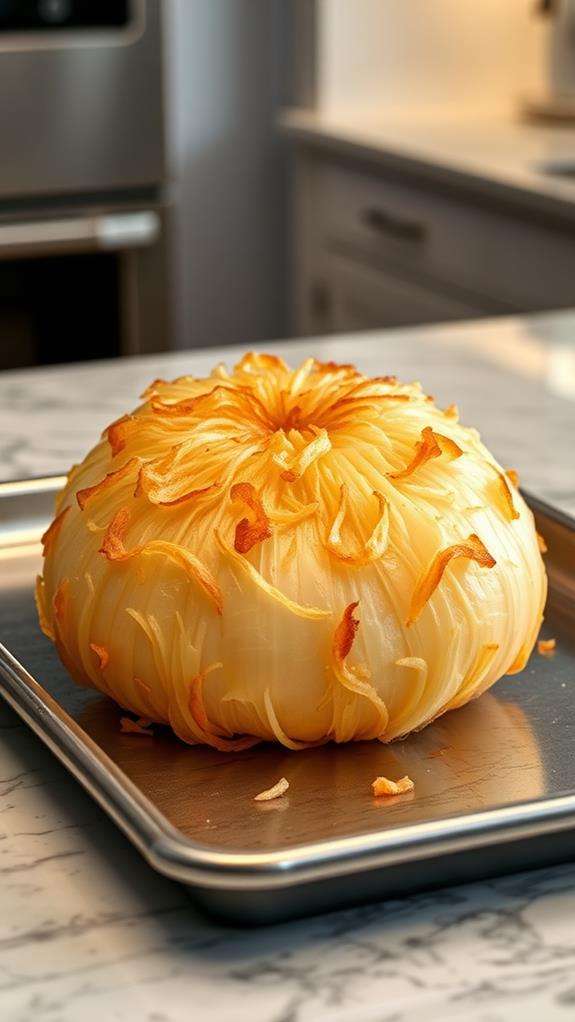
Before reheating your leftover Bloomin' Onion, you'll need to check that it's been properly stored in an airtight container and hasn't developed any off-putting odors or visible signs of spoilage. Next, gather your preferred reheating equipment, whether that's an air fryer, conventional oven, or toaster oven, along with any necessary tools like tongs or a sharp knife. To achieve the most even heating and best results, carefully separate the onion into manageable portions or "petals," which will help restore the crispy texture you're looking for.
Check Onion's Storage Condition
A properly stored Bloomin' Onion is vital for successful reheating. Before you begin the reheating process, you'll need to assess your leftovers' storage conditions to guarantee food safety and ideal quality. If you've followed proper storage guidelines, your Bloomin' Onion should be in an airtight container in the refrigerator, separate from any dipping sauces.
Check these important storage factors before proceeding:
- Time since initial storage – verify that your leftovers haven't exceeded the four-day storage limit, as quality notably diminishes beyond this point
- Container integrity – verify your airtight container hasn't been compromised, which could lead to unwanted moisture loss or bacterial growth
- Storage temperature – confirm your refrigerator maintains proper cooling (below 40°F) to prevent spoilage
- Visual inspection – examine the onion for any signs of deterioration, such as unusual discoloration or off-putting odors
If you notice any concerning signs during your inspection, it's best to err on the side of caution and discard the leftovers. Remember that proper storage directly impacts your reheating results, so maintaining appropriate storage conditions from the start is vital for preserving both freshness and food safety.
Gather Necessary Equipment First
Success in reheating your Bloomin' Onion starts with having the right equipment ready. Before you begin the reheating process, you'll need to gather specific tools based on your preferred reheating method to guarantee the best results for your leftover appetizer.
For microwave reheating, you'll need a microwave-safe plate and paper towel to prevent any mess. If you're opting for the oven method, gather a baking sheet and aluminum foil to create an even heating surface while maintaining moisture. The air fryer method, which typically delivers the crispiest results, requires you to have your air fryer ready and preheated, along with some cooking spray for ideal texture.
Each method requires different preparation, so having everything within reach will make the process smoother. You'll want to arrange your workspace efficiently, keeping all tools easily accessible. If you're using the air fryer, make sure it's preheated to the right temperature before starting. For oven reheating, line your baking sheet with foil beforehand, and if using the microwave, have your paper towel ready to cover the Bloomin' Onion properly.
Cut Into Manageable Portions
Properly portioning your leftover Bloomin' Onion is essential for achieving an evenly reheated result. You'll want to carefully cut the onion into manageable portions, facilitating each petal is separated cleanly to promote uniform heating. When you're working with a large Bloomin' Onion, consider dividing it in half first to make the task more manageable and to facilitate better exposure to heat during the reheating process.
For the best results when preparing your Bloomin' Onion portions, follow these key steps:
- Separate each petal gently from the center, maintaining their signature shape
- Cut larger sections into smaller, bite-sized pieces for more efficient reheating
- Facilitate all portions are relatively similar in size for consistent crispiness
- Remove any excess breading that might have clumped together
Air Fryer Reheating Steps
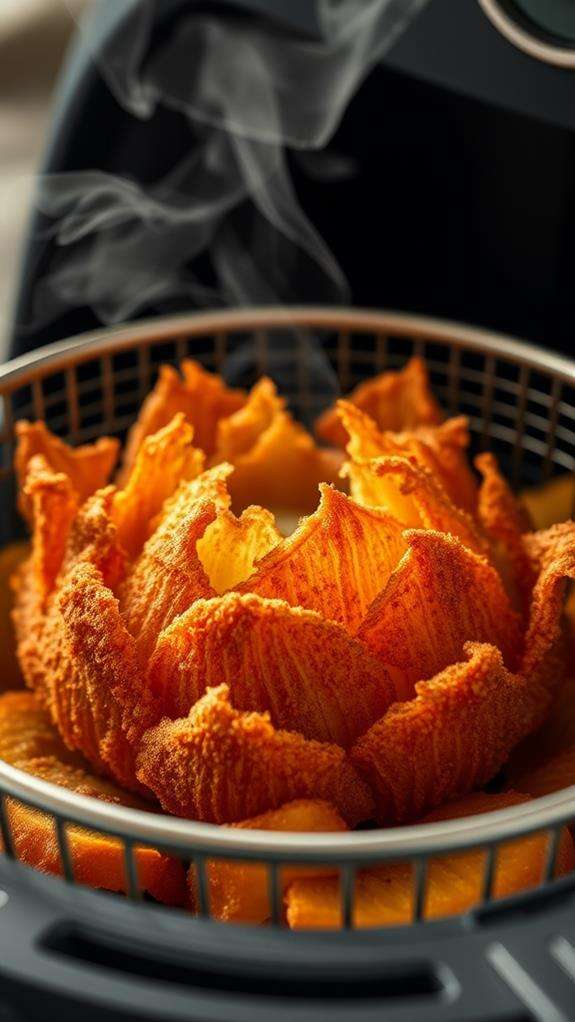
Reheating a Bloomin' Onion in an air fryer starts with preheating the unit to 350°F, though you can bump it up to 370°F if you're craving extra crispiness. To guarantee the best results, you'll want to cut your Bloomin' Onion in half, which helps achieve even heating throughout the entire appetizer.
| Step | Action |
|---|---|
| 1 | Preheat air fryer to 350-370°F |
| 2 | Cut Bloomin' Onion in half |
| 3 | Apply light coating of cooking spray |
| 4 | Place in air fryer basket |
| 5 | Cook 5-6 minutes, flipping halfway |
Before placing your onion in the air fryer basket, give it a light coating of cooking spray or oil to enhance the crispiness of those signature petals. You'll need to monitor the reheating process carefully, as cooking times may vary depending on your onion's size. Set your timer for 5-6 minutes, making sure to flip the onion halfway through for even heating. Keep an eye on the texture – you're looking for crispy outer petals while maintaining a tender interior. If needed, adjust the cooking time to achieve your desired level of crispiness.
Oven Warming Technique
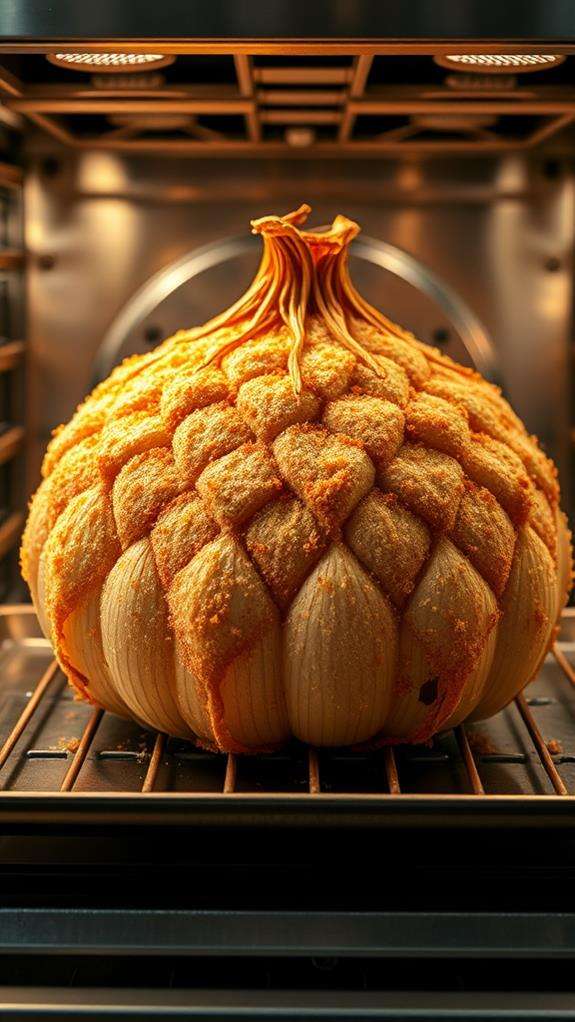
Reviving your Bloomin' Onion in the oven delivers reliable results when done correctly. To maximize the crispiness and maintain that signature texture you love, you'll want to follow a precise reheating process that starts with preheating your oven to 400°F.
For the best outcome, follow these essential steps:
- Place your Bloomin' Onion directly on a clean baking sheet without any covering or wrapping – this helps maintain the crispy exterior you're aiming for
- Position the onion in the center of your preheated oven, ensuring even heat distribution throughout the reheating process
- Set your timer for 6-10 minutes, remembering to turn the onion halfway through for consistent heating
- Watch carefully for any signs of burning, especially on the delicate petal tips
Don't leave your reheated Bloomin' Onion sitting around – serve it immediately after removing it from the oven. The texture will be at its peak when it's fresh from the heat, giving you that perfect combination of warm, crispy petals and tender interior that makes this appetizer so popular.
Microwave Quick Heat Guide
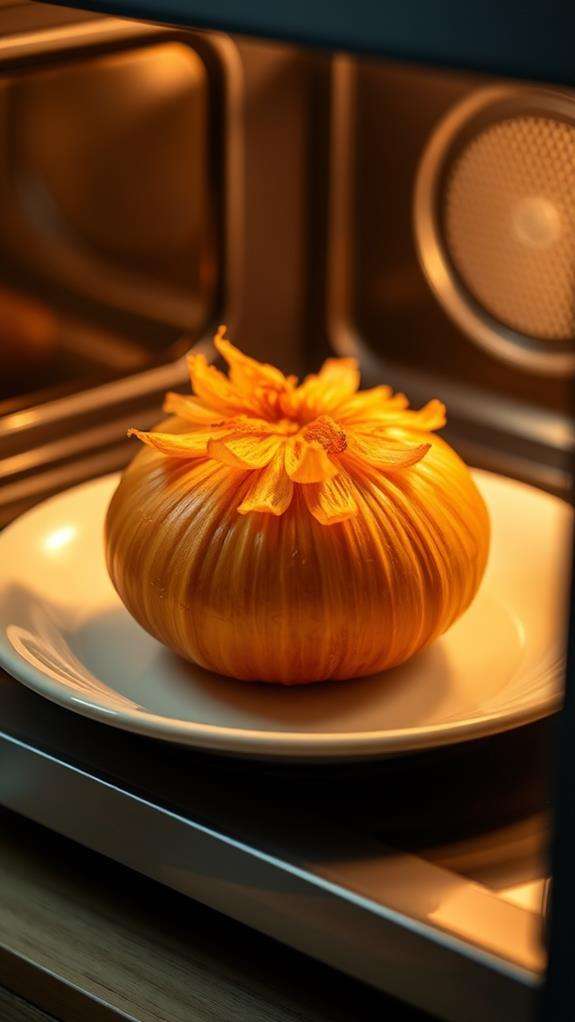
Speed and convenience make the microwave an appealing option for reheating your Bloomin' Onion, though you'll need to accept some texture compromise. The key to successful microwave reheating lies in proper preparation and careful timing to preserve as much of the original qualities as possible.
To begin, unwrap your Bloomin' Onion and place it on a microwave-safe plate. Cover it loosely with a paper towel, which will catch any oil splatters while allowing steam to escape. Set your microwave to high power and start with a 30-second interval. You'll want to check the onion's temperature frequently, rotating the plate between intervals to guarantee even heating throughout the entire appetizer.
Continue microwaving in 30-second bursts until you've reached your desired temperature, typically taking 1-2 minutes total. While the crispy batter won't maintain its original crunchiness, you can minimize texture loss by avoiding overheating. Once your Bloomin' Onion reaches the right temperature, serve it immediately to enjoy the best possible flavors and prevent it from becoming too soggy.
Maintaining Crispy Texture
Your air fryer is the secret weapon for bringing back that perfect crunch to your leftover Bloomin' Onion, especially when you preheat it to the ideal temperature of 370°F. For the best results, you'll want to give the basket a gentle shake every minute or so during the 3-5 minute reheating process, ensuring even heat distribution and consistent crispiness throughout. A light spritz of cooking oil before reheating can make a significant difference in restoring that fresh-from-the-restaurant texture you're aiming for.
Air Fryer Crunch Method
For maximum crispiness when reheating your Bloomin' Onion, the air fryer method delivers exceptional results. Start by preheating your air fryer to 370°F, which creates the perfect environment for restoring that signature crunch. Before placing your onion in the basket, you'll want to slice it in half, exposing more surface area for evenly heating throughout.
Here's why the air fryer method stands out for achieving peak texture:
- The concentrated hot air circulation guarantees uniform crispiness across every petal
- The elevated cooking position prevents sogginess by allowing excess oil to drip away
- The rapid heating process maintains the original flavor while improving texture
- The controlled environment prevents burning while maximizing crunchiness
Lightly coat your Bloomin' Onion with cooking spray to enhance the crisping process. Place it in the preheated basket and set the timer for 3-5 minutes. Don't forget to shake the basket occasionally during reheating to guarantee even results. If you're looking for extra crunch, you can extend the cooking time by 2-3 minutes, but watch carefully to prevent overcooking.
Optimal Temperature Settings
Now that you've mastered the air fryer technique, getting the right temperature across different reheating methods will make or break your Bloomin' Onion's texture. Each method requires specific temperature control to achieve that perfect crunch you're looking for.
For air fryer reheating, you'll want to preheat to 370°F, which provides the ideal balance of heat distribution to restore crispiness without burning the batter. When using your conventional oven, bump the temperature up to 400°F to guarantee even heating throughout the onion petals. If you're opting for deep fryer reheating, maintain a steady 375°F to achieve that signature golden-brown exterior while preserving the interior's tenderness.
Microwave temperatures are trickier to control, so you'll need to focus on timing instead. Use your microwave's high setting for 1-2 minutes, but check frequently to prevent sogginess. Remember that maintaining proper temperature control is vital regardless of your chosen method. Too low, and you'll end up with a limp, soggy appetizer; too high, and you risk burning the delicate batter that makes your Bloomin' Onion special.
Storage Before Reheating
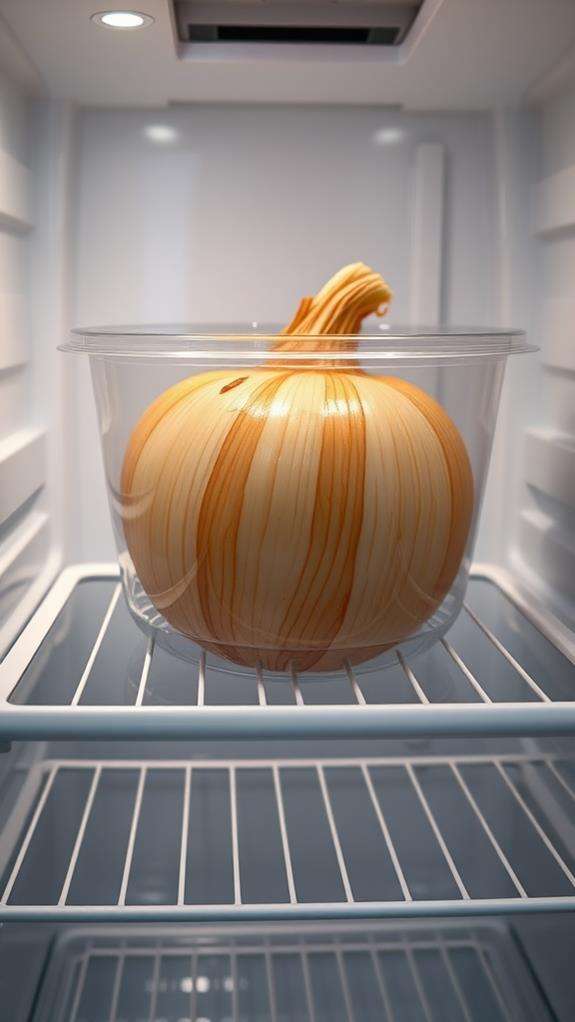
Proper storage up until reheating plays an essential role in maintaining your Bloomin Onion's quality. When you've got leftovers from this popular appetizer, you'll want to follow specific food safety guidelines to guarantee the best possible reheating experience. Start by letting your Bloomin Onion cool slightly, but don't leave it sitting out for more than two hours.
For ideal storage, you'll need to:
- Transfer your Bloomin Onion to an airtight container as soon as it's cooled enough to handle
- Store any accompanying dipping sauce in the same container or a separate one to prevent sogginess
- Place the container in your refrigerator promptly to maintain food safety standards
- Use within four days to secure the highest quality outcome
Remember that proper storage directly impacts how well your Bloomin Onion will reheat later. The airtight container helps prevent the onion from absorbing other flavors from your refrigerator while protecting its signature crispy texture. If you're planning to reheat your leftovers, proper storage becomes even more essential as it helps maintain the original taste and texture you enjoyed when it was first served.
Serving Temperature Tips
Once you've properly stored and reheated your Bloomin' Onion, serving it at the right temperature makes all the difference in your dining experience. You'll want to verify your onion reaches between 165°F and 185°F throughout, which you can check using a food thermometer for precise measurement.
| Temperature Aspect | Best Practice |
|---|---|
| Ideal Range | 165°F – 185°F |
| Testing Method | Food thermometer |
| Resting Time | 1 minute |
| Consumption Window | Immediate |
| Sauce Temperature | Room temperature |
After your Bloomin' Onion reaches the proper temperature, let it rest for one minute. This brief pause allows the heat to redistribute evenly throughout the layers, confirming every bite is perfectly warm. During this time, you can prepare your favorite dipping sauces, which should be at room temperature to complement the hot onion without cooling it down too quickly.
Don't wait too long to enjoy your reheated creation, as the texture will change as it cools. The crispy exterior is at its peak when served immediately, and you'll notice the best flavor profile when consumed while properly heated through.
Sauce Pairing Suggestions

Several delicious sauces can elevate your reheated Bloomin' Onion to new heights. When you're reheating fried foods like this iconic appetizer, choosing the right dipping sauces can make a significant difference in your overall enjoyment. The classic ranch dressing remains an ideal way to complement the savory flavor of the crispy onion petals, while a spicy chipotle sauce adds an exciting kick to each bite. For those seeking to highlight natural flavors, using pure kosher salt in your sauces can further boost the overall taste experience.
To maximize your Bloomin' Onion experience, consider these crowd-favorite tangy dipping sauce combinations:
- Classic ranch dressing blended with fresh cracked pepper and a touch of garlic
- Spicy chipotle sauce mixed with honey for a sweet-heat balance
- Creamy horseradish sauce with a dash of Worcestershire
- Zesty remoulade with capers and fresh herbs
For the best results, serve your sauces at room temperature while your Bloomin' Onion is still hot from reheating. This temperature contrast enhances the overall taste experience and guarantees your onion petals maintain their satisfying crunch. You'll want to portion your sauces into small ramekins, making it easier to access all those perfectly crispy layers.
Frequently Asked Questions
What Is the Best Way to Reheat a Bloomin Onion?
To get the best results when reheating your Bloomin' Onion, you'll want to use an air fryer set to 370°F for 3-5 minutes. Before you start, cut the onion in half for more even heating. Don't forget to preheat your air fryer first. If you don't have an air fryer, you can use your oven at 400°F for 6-10 minutes, making sure to flip it halfway through. Avoid using the microwave, as it'll make the batter soggy.
Can You Air Fry Leftover Bloomin Onions?
Yes, you can definitely air fry your leftover Bloomin' Onions, and it's actually one of the best reheating methods available. You'll want to preheat your air fryer to 370°F, then slice the onion in half for even heating. Place it in the basket and cook for 3-5 minutes, giving the basket a shake occasionally. If you're after extra crispiness, add another 2-3 minutes. This method restores the crispy texture without extra oil.
How Do You Reheat a Blooming Onion From Texas Roadhouse?
You'll get the best results reheating your Texas Roadhouse Bloomin' Onion in a 400°F oven for 6-10 minutes on a baking sheet. Alternatively, you can use an air fryer at 370°F for 3-5 minutes, shaking occasionally. For quicker results, microwave for 1-2 minutes, though the texture won't be as crispy. Pro tip: slice it into individual petals first for more even heating, and serve immediately with your favorite dipping sauce.
How Do You Make Leftover Onion Rings Crispy Again?
You'll get the crispiest results by reheating your leftover onion rings in an air fryer at 370°F for 3-5 minutes, shaking occasionally. If you don't have an air fryer, preheat your oven to 400°F and heat them for 6-10 minutes, flipping halfway through. For extra crispiness, lightly spray them with cooking oil before reheating. Avoid using the microwave, as it'll make them soggy. Always watch closely to prevent burning.


