How to Make Homemade Vanilla Extract
To make homemade vanilla extract, you’ll need vanilla beans and alcohol (at least 35% ABV). Choose quality beans like Madagascar Bourbon or Tahitian, and opt for vodka, bourbon, or rum as your base. Split the beans lengthwise, place them in a clean glass jar, and cover with alcohol. Seal tightly and store in a cool, dark place for at least 8 weeks, shaking gently once a week. The liquid will darken and develop a rich aroma over time. For best results, age your extract for 2-6 months. Proper storage in dark glass bottles can extend shelf life to 1-2 years. Discover the nuances of this process to elevate your homemade extract.
This post may contain affiliate links. If you make a purchase through these links, I may earn a commission at no additional cost to you. Additionally, portions of this post may be generated using artificial intelligence (AI) technology. While we strive for accuracy, please be aware that AI-generated content may not always be perfect and should be fact-checked when necessary.
Choosing the Right Vanilla Beans
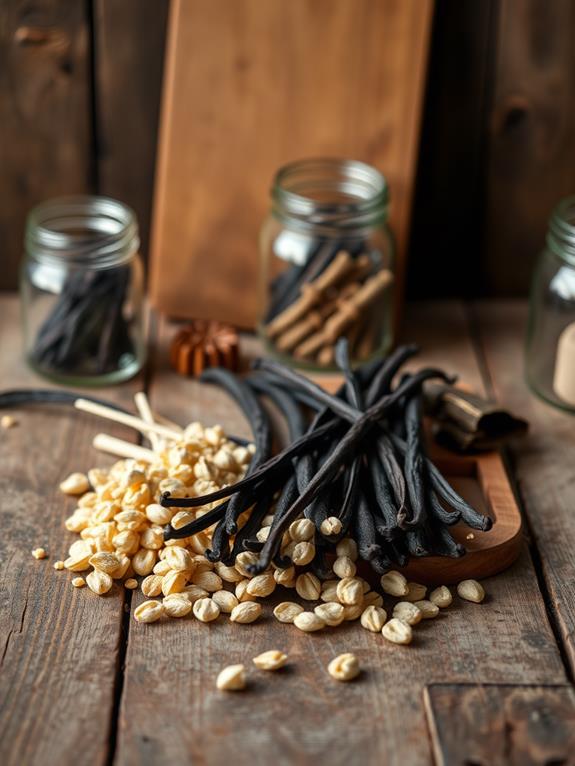
Quality is paramount when selecting vanilla beans for your homemade extract. You’ll want to focus on two main types: Madagascar Bourbon and Tahitian. Madagascar Bourbon beans are known for their rich, creamy flavor, while Tahitian beans offer a more floral, fruity profile. When choosing, look for beans that are plump, oily, and pliable. Avoid brittle or dry beans, as they’ll yield less flavor.
Grade A beans, also called “gourmet” or “prime,” are ideal for extract-making. They’re longer, moister, and have a higher vanillin content, which is essential for a potent extract. Grade B beans, while less visually appealing, can still produce a good extract and are often more cost-effective.
Consider the bean’s length and weight. Longer beans typically have more seeds, which contribute to a richer flavor. Aim for beans that are at least 6 inches long and have a good weight-to-length ratio. Remember, the source matters too. Purchase from reputable suppliers to guarantee you’re getting high-quality, ethically sourced beans. This attention to detail will meaningfully impact your extract’s final flavor profile.
Selecting Your Alcohol Base
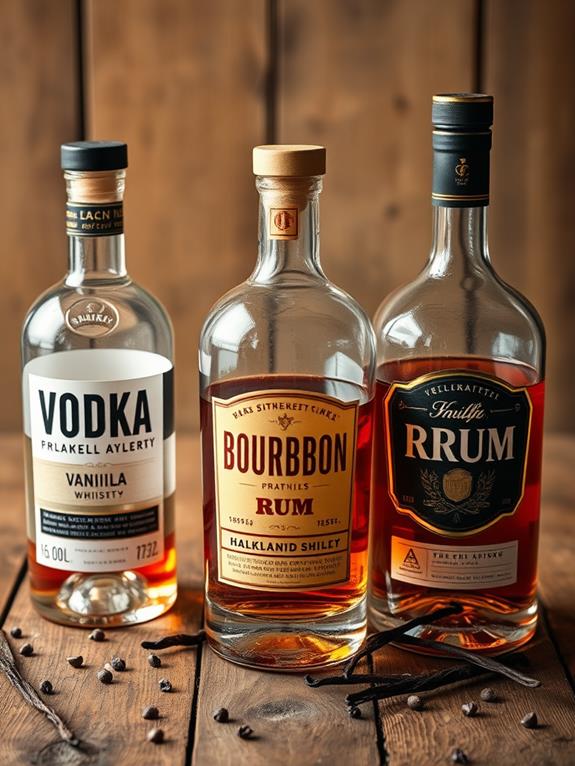
The choice of alcohol is essential for your homemade vanilla extract. You’ll want to select a spirit that’s at least 35% alcohol by volume (70 proof) to effectively extract the vanilla beans’ flavors and act as a preservative. Vodka is the most popular choice due to its neutral taste, but you can experiment with other options for unique flavor profiles.
| Alcohol Type | Pros | Cons |
|---|---|---|
| Vodka | Neutral flavor, widely available | Can be expensive for high-quality brands |
| Bourbon | Adds warmth and depth | May overpower delicate vanilla notes |
| Rum | Complements vanilla’s sweetness | Can be too sweet for some recipes |
When choosing your alcohol base, consider the intended use of your extract. If you’re planning to use it primarily in baking, a neutral vodka might be your best bet. For more complex flavor profiles in desserts or cocktails, bourbon or rum can add interesting dimensions. Remember, the quality of your alcohol will impact the final product, so don’t skimp on this ingredient. You’ll be using this extract for months, if not years, so invest in a decent mid-range option for the best results.
Equipment You’ll Need
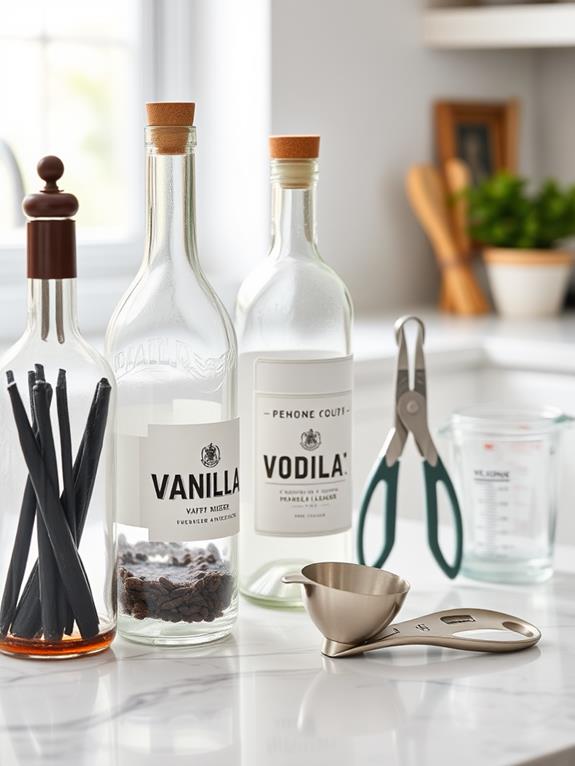
Gathering the right equipment guarantees a smooth vanilla extract-making process. You’ll need a few essential items to get started. First, procure a clean glass jar with an airtight lid. Mason jars work well, but any glass container with a secure seal will suffice. Choose a size that accommodates your desired batch volume, typically ranging from 8 to 16 ounces.
Next, you’ll need a sharp knife or kitchen scissors to split the vanilla beans. A funnel can be helpful for transferring the alcohol into the jar without spills. Label-making materials, such as adhesive labels and a permanent marker, are vital for tracking your extract’s creation date and ingredients.
For measuring, have a set of measuring cups and spoons on hand. If you’re planning to gift your homemade extract, consider investing in small, decorative bottles with tight-sealing caps. A fine-mesh strainer or cheesecloth will be necessary for filtering the finished product, removing any sediment or bean particles. Finally, don’t forget to have a dark, cool storage space ready for the aging process, as light and heat can affect the extract’s quality during maturation.
Step-by-Step Extraction Process
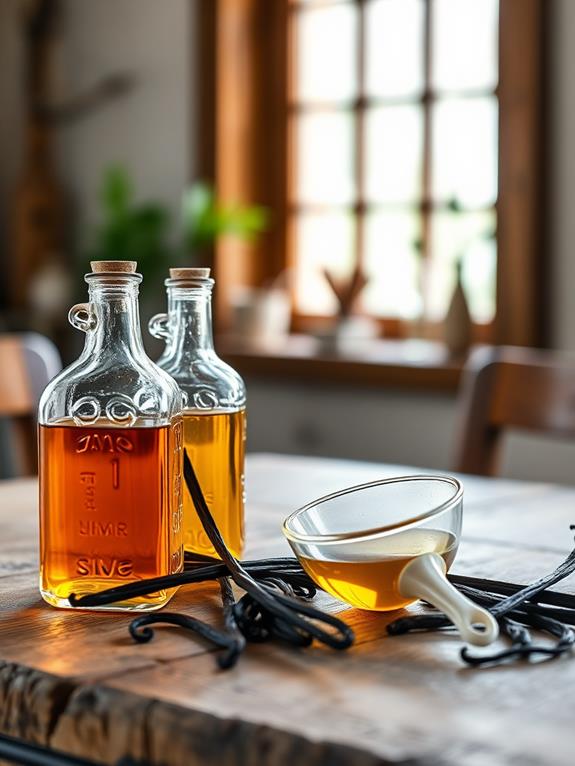
Four key steps comprise the vanilla extract-making process. Begin by selecting high-quality vanilla beans and slicing them lengthwise to expose the flavorful seeds. Next, place the beans in a clean glass jar and cover them completely with your chosen alcohol, typically vodka. Seal the jar tightly and store it in a cool, dark place.
The extraction process requires patience and time. Follow these essential steps:
- Shake the jar gently once a week to distribute the vanilla flavor.
- Allow the mixture to steep for at least 8 weeks, though longer periods yield stronger extracts.
- Taste-test the extract periodically to gauge its strength.
- Strain the liquid through a fine-mesh sieve or cheesecloth when it reaches your desired potency.
During this time, the alcohol acts as a solvent, extracting the vanilla’s complex flavors and aromatic compounds. This process, known as maceration, allows the vanilla’s essence to infuse the liquid fully. You’ll notice the color darkening and the aroma intensifying as the weeks pass. Once you’re satisfied with the result, transfer the extract to smaller bottles for storage or gifting. Remember, homemade vanilla extract continues to develop flavor over time, so don’t rush the process.
Proper Storage Methods
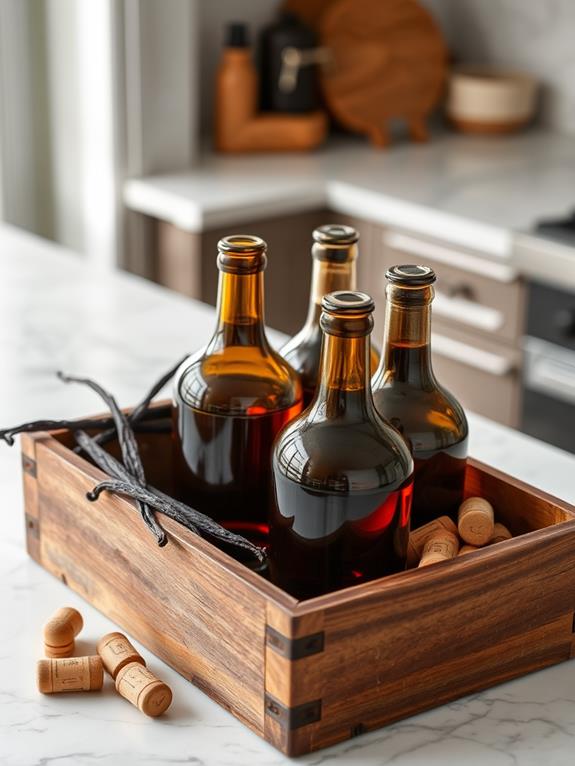
Proper storage is essential for maintaining the quality and potency of your homemade vanilla extract. To guarantee your extract stays fresh and flavorful, you’ll need to pay attention to a few key factors. Store your vanilla extract in a cool, dark place away from direct sunlight and heat sources. A pantry or kitchen cabinet is ideal. Always use airtight, glass containers to prevent oxidation and preserve the extract’s potency.
Here’s a helpful guide for storing your homemade vanilla extract:
| Storage Factor | Recommendation |
|---|---|
| Container | Dark glass bottle |
| Temperature | 60-70°F (15-21°C) |
| Light Exposure | Minimal to none |
| Humidity | Low to moderate |
| Shelf Life | 1-2 years, if stored properly |
When you’re ready to use your extract, give the bottle a gentle shake to redistribute the flavors. If you notice any changes in color, smell, or taste, it’s best to discard the extract and make a fresh batch. By following these storage methods, you’ll guarantee that your homemade vanilla extract maintains its rich flavor and aroma for months to come.
Aging and Patience
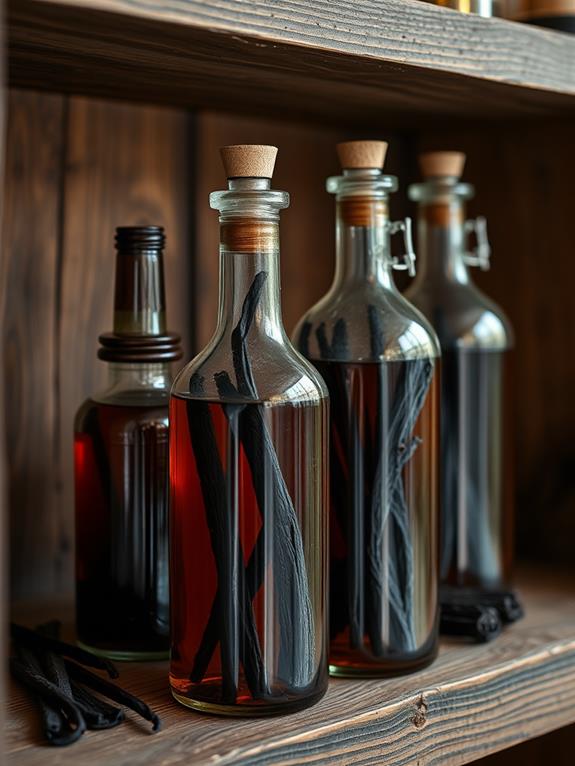
Time is an essential ingredient in making exceptional homemade vanilla extract. As you’ve prepared your vanilla mixture, you’ll need to exercise patience during the aging process. This vital step allows the flavors to develop fully, resulting in a rich and complex extract.
The aging period for homemade vanilla extract typically ranges from 2 to 6 months, depending on your desired strength. During this time, you’ll notice the liquid darkening and the aroma intensifying. To guarantee ideal results:
- Store your extract in a cool, dark place
- Shake the bottle gently once a week
- Resist the urge to open it frequently
- Label the bottle with the start date
As you wait, the vanilla beans will continue to infuse the alcohol, extracting more flavor compounds. This process, known as maceration, enhances the extract’s depth and complexity. You’ll find that the longer you allow your extract to age, the more robust and nuanced its flavor profile becomes. While it may be tempting to use your extract immediately, remember that patience is key to achieving a high-quality product that rivals or surpasses store-bought options.
Uses for Homemade Vanilla Extract
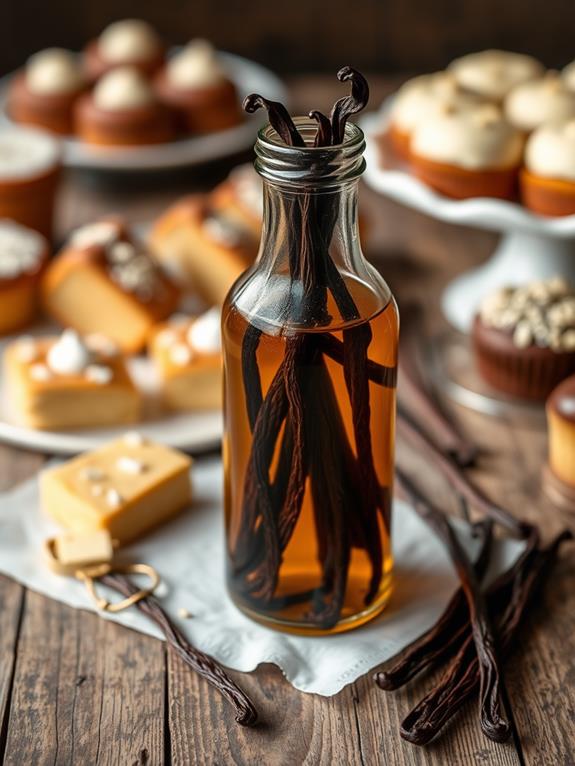
Release the versatility of your homemade vanilla extract in countless culinary creations. You’ll find it’s an essential ingredient in baking, enhancing the flavors of cakes, cookies, and pastries. Add a teaspoon to your pancake or waffle batter for a delightful breakfast twist. It’s not just for sweets, though; try incorporating it into savory dishes like glazed roasted vegetables or homemade barbecue sauce for depth and complexity.
Your vanilla extract can elevate beverages too. Mix it into coffee, hot chocolate, or smoothies for a subtle flavor boost. It’s perfect for homemade ice cream, custards, and puddings, imparting that classic vanilla taste. Don’t forget about its potential in homemade beauty products; add a few drops to body scrubs or lotions for a natural fragrance.
When using your extract, remember that a little goes a long way. Start with small amounts and adjust to taste. For ideal flavor integration, add it early in the cooking process for hot dishes and towards the end for cold preparations. By experimenting with your homemade vanilla extract, you’ll discover countless ways to enhance your culinary repertoire and impress your taste buds.
Frequently Asked Questions
Can I Use Imitation Vanilla Flavoring Instead of Vanilla Beans?
Envision this: you’re about to make vanilla extract, but you’ve only got imitation vanilla flavoring. Unfortunately, you can’t use it as a substitute for vanilla beans in homemade extract. Imitation vanilla is already a processed product, lacking the complex flavors and compounds found in real vanilla beans. To create authentic vanilla extract, you’ll need genuine vanilla beans steeped in alcohol. This process extracts the beans’ natural flavors, resulting in a richer, more nuanced product than what you’d get from imitation flavoring.
Is Homemade Vanilla Extract Safe for People With Alcohol Sensitivities?
If you have alcohol sensitivities, homemade vanilla extract might not be safe for you. It’s typically made by steeping vanilla beans in alcohol, usually vodka or bourbon. The final product contains a significant amount of alcohol, which can trigger reactions in sensitive individuals. You’d need to use it sparingly or consider alcohol-free alternatives. If you’re concerned, consult your doctor before consuming homemade vanilla extract. Remember, even store-bought extracts contain alcohol, so always check labels carefully.
How Long Does Homemade Vanilla Extract Last Before It Goes Bad?
Your homemade vanilla extract will last longer than the pyramids! Typically, it’ll stay good for years if stored properly. You’ll want to keep it in a cool, dark place in an airtight container. The high alcohol content acts as a preservative, preventing spoilage. However, you should periodically check for any off-odors or visible mold. If stored correctly, your homemade vanilla extract can maintain its quality for 5-10 years, though it’s best used within the first 2-3 years for peak flavor.
Can I Sell My Homemade Vanilla Extract Commercially?
If you’re considering selling your homemade vanilla extract commercially, you’ll need to comply with local, state, and federal regulations. You’ll have to obtain proper licensing, follow food safety guidelines, and guarantee your product meets labeling requirements. It’s essential to research the legal aspects, including business registration and health department certifications. You might also need to secure a commercial kitchen space. Remember, selling food products comes with significant responsibilities, so it’s wise to consult with a lawyer or business advisor before launching your venture.
Is It Cheaper to Make Vanilla Extract at Home Than Buying It?
You might find that crafting your own vanilla extract is a bit kinder to your wallet than purchasing it. The initial investment in vanilla beans and vodka can seem steep, but it pays off over time. You’ll get more extract for your money, and it often has a richer flavor. Plus, you can control the quality and strength. However, consider factors like time investment and storage space when deciding if it’s worth it for you.
Conclusion
You’ve now commenced on a journey to create your own “vanilla essence.” With the right beans, alcohol, and a dash of patience, you’ll soon have a fragrant elixir that’ll elevate your culinary creations. Remember, good things come to those who wait. As your extract matures, you’ll discover its versatility in baking, cooking, and even personal care. Don’t be shy to experiment with different bean varieties or infusion times. Your homemade vanilla extract will be a demonstration of your culinary prowess and dedication to quality ingredients.
