How Long Does Vacuum Sealed Meat Last in the Freezer
Vacuum-sealed meat stored at 0°F (-18°C) can last considerably longer than conventionally wrapped meat in your freezer. You'll get 2-3 years of storage for red meats like beef, pork, and lamb, while ground meats last 1-2 years. Poultry has a shorter timeframe, with whole birds lasting up to 15 months and individual cuts around 9 months. Fish varies based on fat content: fatty fish like salmon keeps 6-8 months, while lean fish extends to 10 months. Seafood generally lasts 4-12 months, depending on the type. For ideal freshness and safety, you'll want to understand proper sealing techniques and temperature maintenance.
This post may contain affiliate links. If you make a purchase through these links, I may earn a commission at no additional cost to you. Additionally, portions of this post may be generated using artificial intelligence (AI) technology. While we strive for accuracy, please be aware that AI-generated content may not always be perfect and should be fact-checked when necessary.
The Spatula Scoops
- Vacuum-sealed red meats like beef, pork, and lamb can last 2-3 years in the freezer at 0°F (-18°C).
- Vacuum-sealed poultry has shorter storage times, with whole birds lasting 15 months and individual cuts lasting 9 months.
- Fish storage varies by type: fatty fish lasts 6-8 months, while lean fish can store up to 10 months.
- Seafood like shrimp and scallops last 10-12 months, while crab and lobster should be used within 4-6 months.
- Proper vacuum sealing prevents freezer burn and extends shelf life significantly compared to conventional freezer storage methods.
Benefits of Vacuum Sealing Meat
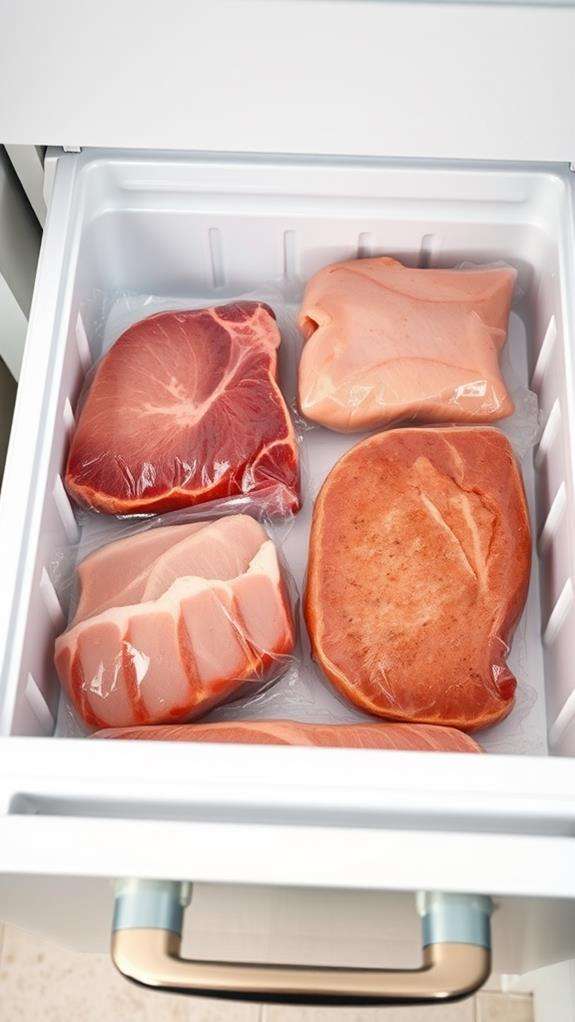
While traditional freezer storage methods can lead to freezer burn and quality loss, vacuum sealing meat offers several significant advantages for long-term preservation. You'll find that removing air from the packaging dramatically reduces oxidation, which helps maintain your meat's color, texture, and nutritional value. The airtight seal prevents moisture loss and dehydration, ensuring your meat stays fresh and flavorful for extended periods.
When you vacuum seal your meat, you're also protecting it from freezer burn, which occurs when air exposure causes ice crystals to form on the surface. The tight seal creates a barrier against bacterial growth and cross-contamination, giving you peace of mind about food safety. You'll also save valuable freezer space since vacuum-sealed packages are more compact than traditional storage methods.
Another benefit you'll appreciate is the cost savings from buying meat in bulk and storing it efficiently. The extended shelf life means you can take advantage of sales without worrying about spoilage. Plus, vacuum-sealed meat thaws more evenly and retains its original taste, texture, and juiciness better than meat stored in conventional freezer bags or containers.
Storage Times for Different Meats
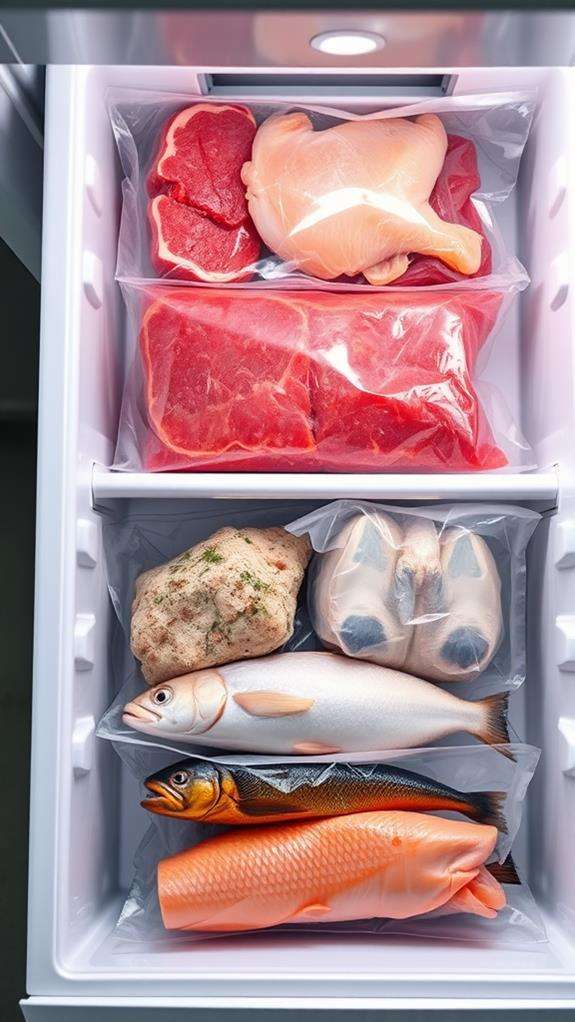
When it comes to storing different types of meat in your freezer, you'll find that each variety has its own best storage duration under vacuum-sealed conditions. Red meats like beef, pork, and lamb can maintain their quality for up to 2-3 years when properly vacuum sealed and frozen at 0°F (-18°C), while poultry typically stays fresh for 1-2 years under the same conditions. Fish and seafood have shorter storage lives, lasting 6-12 months in vacuum-sealed packaging before quality begins to decline, even in ideal freezer conditions.
Red Meat Storage Times
For vacuum-sealed red meats, storage times can vary considerably based on the specific type and cut. When properly vacuum sealed and stored at 0°F (-18°C), ground beef will typically last 1-2 years, while whole cuts like steaks and roasts can maintain their quality for 2-3 years.
You'll find that premium cuts like ribeye and tenderloin can stay fresh even longer when vacuum sealed, often reaching the 3-year mark without significant quality loss. If you're storing less expensive cuts like chuck or round, you'll want to use them within 2 years for the best results. It's essential to recognize that these timeframes assume you're maintaining consistent freezer temperatures and the vacuum seal remains intact.
For specialty items like dry-aged beef, you'll need to adjust these storage times downward by about 25%, as the aging process can make the meat more susceptible to freezer burn even with vacuum sealing. When storing organ meats like liver or kidney, plan to use them within 8-12 months, as their higher moisture content and delicate tissue structure make them more vulnerable to degradation, even with proper vacuum sealing.
Poultry Preservation Duration
Most vacuum-sealed poultry products maintain their quality for 9-12 months in the freezer at 0°F (-18°C). You'll find that whole chickens and turkeys can last even longer when properly sealed, often reaching up to 15 months while retaining their flavor and texture. However, you'll want to separate different cuts before freezing to maximize storage efficiency and make thawing more convenient.
When it comes to specific poultry cuts, you can expect different preservation durations. Chicken breasts and turkey cutlets typically maintain peak quality for 9 months, while chicken wings and drumsticks may last up to 10 months. Ground poultry has a shorter freezer life, usually around 6-8 months, due to its increased surface area and higher fat content. Duck and game birds, when vacuum-sealed, can maintain their quality for 8-10 months.
To guarantee maximum preservation, you'll need to check that your vacuum sealer has removed all air pockets, particularly around bone-in pieces. It's also vital to label your packages with the date of freezing and the cut type, allowing you to track storage duration and rotate your frozen inventory effectively.
Fish and Seafood Limits
Vacuum-sealed fish and seafood generally have shorter freezer storage times compared to poultry. You'll want to pay close attention to these timeframes, as seafood's delicate nature makes it more susceptible to quality degradation, even when properly sealed and frozen.
For fatty fish like salmon, mackerel, and tuna, you can store them vacuum-sealed in your freezer for up to 6-8 months before quality starts to decline. Lean fish varieties, such as cod, flounder, and haddock, will maintain their quality for 8-10 months when vacuum-sealed. When it comes to shellfish, you've got different timelines to bear in mind: vacuum-sealed shrimp and scallops can last 10-12 months, while crab and lobster should be used within 4-6 months for the best quality.
To maximize storage life, you'll need to ascertain your seafood is vacuum-sealed at peak freshness, with all air properly removed. The temperature in your freezer should remain constant at 0°F (-18°C) or below. You'll know it's time to discard your seafood if you notice severe freezer burn, strong fishy odors, or significant color changes, regardless of the storage timeline.
Proper Vacuum Sealing Techniques
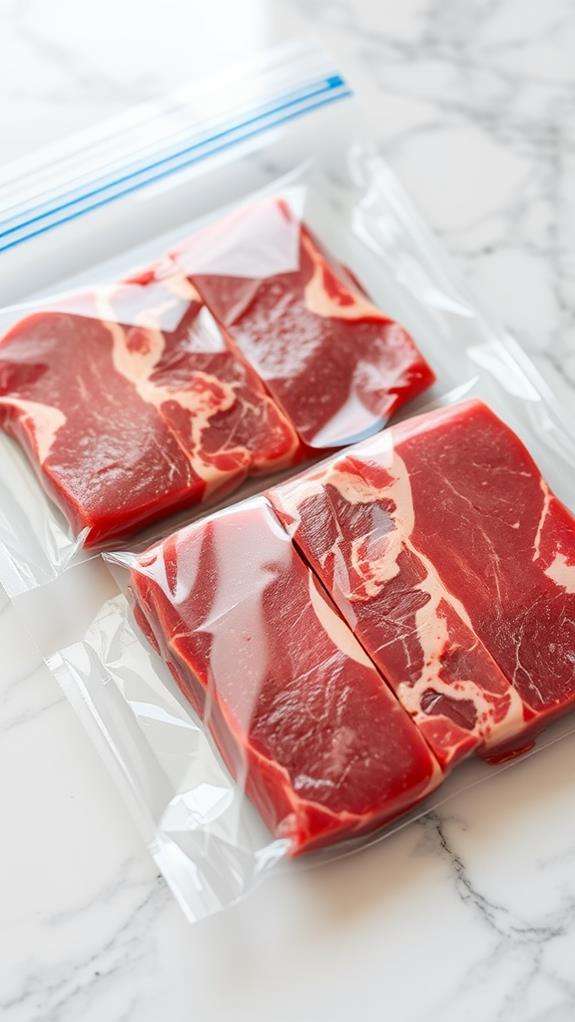
The success of your frozen meat's longevity starts with proper vacuum sealing techniques. You'll need to verify your meat is properly prepared, your equipment is clean, and you're following the correct sealing process. Before sealing, pat your meat dry with paper towels to remove excess moisture, which can interfere with creating a proper seal.
| Step | Action | Important Note |
|---|---|---|
| 1 | Clean Surface | Sanitize work area with food-safe cleaner |
| 2 | Prep Meat | Cut into portions, remove excess fat |
| 3 | Pre-freeze | Flash freeze for 30 minutes if very moist |
| 4 | Bag Selection | Choose correct size with 2-inch headspace |
| 5 | Sealing Process | Remove air gradually, check seal integrity |
When using your vacuum sealer, you'll want to place the meat in the bag with at least two inches of space at the top. If you're sealing items with sharp edges, like bones, wrap them in wax paper first to prevent bag punctures. Don't overfill the bags, as this can compromise the seal. Always check the seal twice before freezing, looking for any wrinkles or gaps that could allow air to enter.
Signs of Freezer Burn
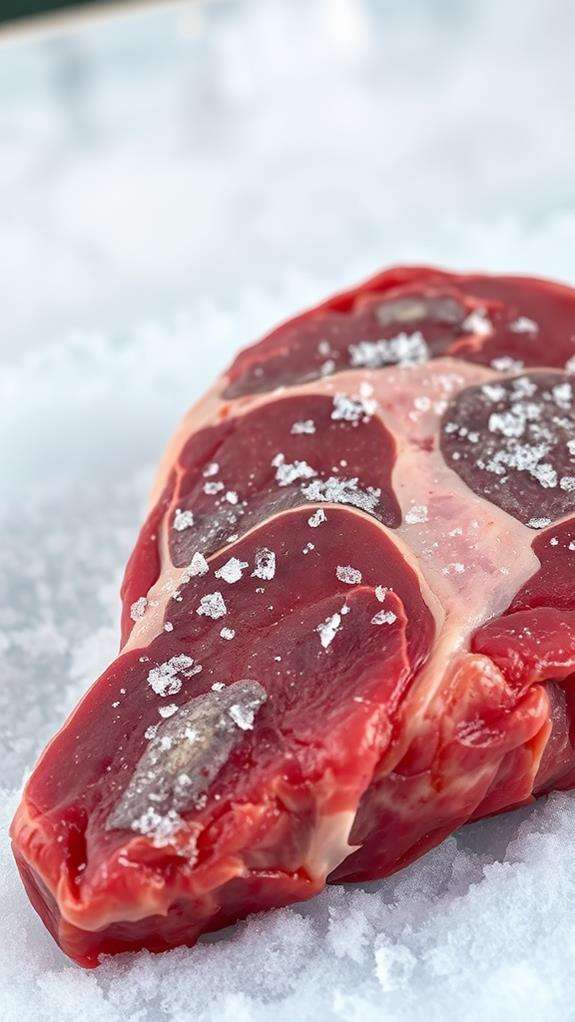
Identifying freezer burn early can help you prevent wasting valuable meat. When you're examining your vacuum-sealed packages, look for telltale discoloration, particularly grayish-white or brown patches that weren't present when you first stored the meat. These spots indicate that moisture has escaped from the meat's surface, leading to oxidation.
You'll notice that freezer-burned areas feel different from the rest of the meat – they're typically dry, tough, and leathery to the touch once thawed. In vacuum-sealed packages that haven't maintained their seal, you might spot ice crystals forming directly on the meat's surface or between the meat and packaging. This crystallization is a clear sign that your vacuum seal has been compromised.
Color changes are another significant indicator. Red meat may develop dark or pale brown spots, while chicken might show white, dried-out patches. If you're examining through the packaging, watch for any areas that appear lighter or darker than the surrounding meat. When you open the package, freezer-burned sections will often have a distinct texture and may feel rougher or more fibrous than properly preserved portions.
Best Freezer Temperature Settings
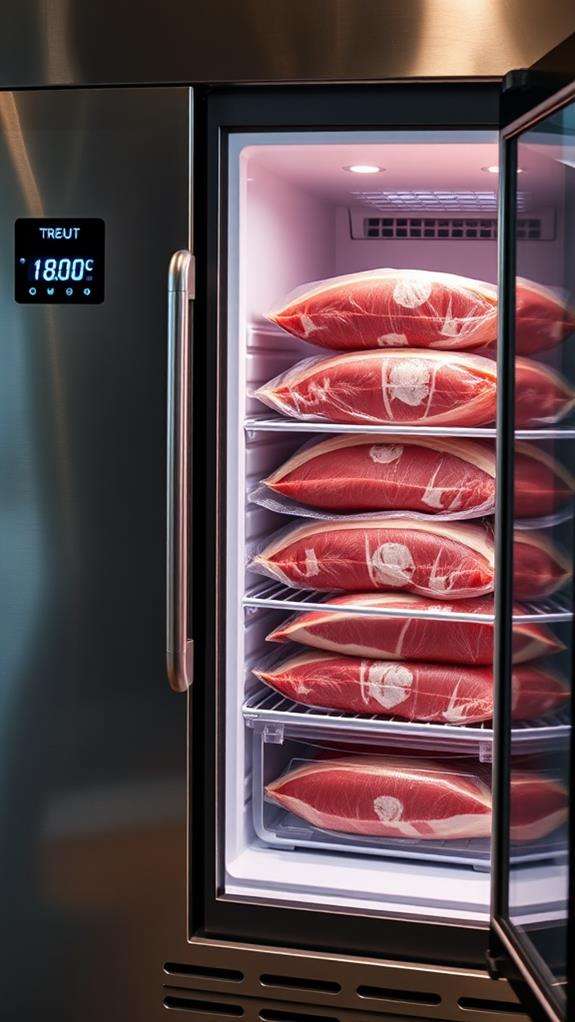
Maintaining your freezer's ideal temperature is vital for preserving vacuum-sealed meat's quality and extending its shelf life. You'll want to keep your freezer at 0°F (-18°C) or lower, as this temperature effectively stops bacterial growth and slows down enzymatic activity that can lead to food spoilage.
- Check your freezer's temperature regularly using a reliable appliance thermometer, placing it in the center of the unit for the most accurate reading
- Don't rely solely on your freezer's built-in temperature dial, as these can become inaccurate over time and may not reflect true internal temperatures
- Adjust your temperature settings seasonally, as external factors like humidity and ambient room temperature can affect your freezer's performance
If you notice temperature fluctuations, verify your freezer isn't overcrowded, as proper air circulation is important for maintaining consistent temperatures. Keep your freezer at least 70% full but not packed, as this helps maintain temperature stability while allowing adequate airflow. When you're storing vacuum-sealed meat long-term, it's worth investing in a freezer with digital temperature controls and an alarm system that alerts you to any unexpected temperature changes.
Thawing Vacuum Sealed Meat
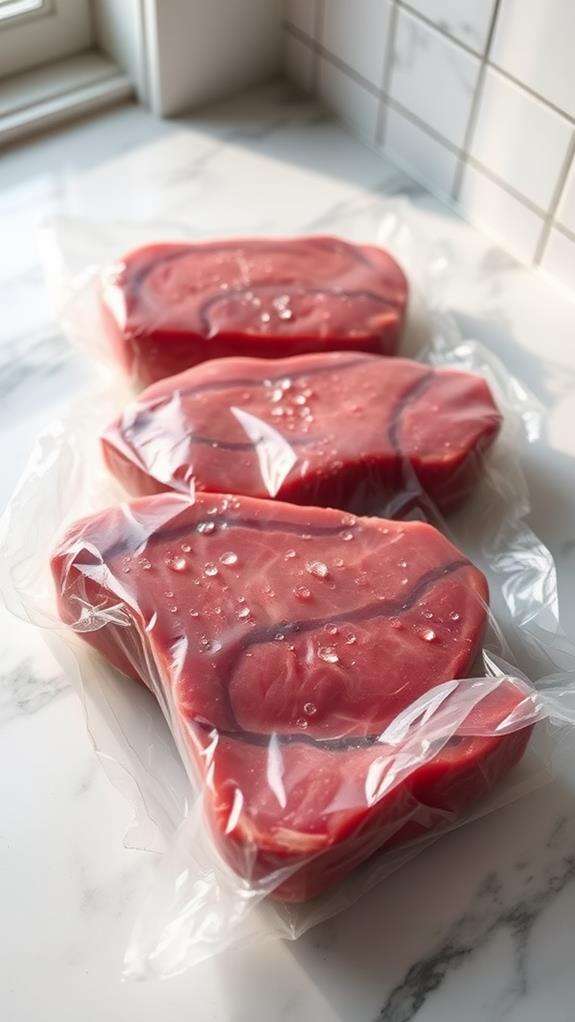
Properly thawing vacuum-sealed meat calls for careful attention to food safety and timing. You'll need to choose between three safe methods: refrigerator thawing, cold water thawing, or microwave defrosting, each with its own considerations.
The refrigerator method is your safest option, though it's the slowest. Place your vacuum-sealed package on a plate or tray to catch any potential drips, and allow 24 hours of thawing time for every 4-5 pounds of meat. If you're short on time, you can use the cold water method by submerging the sealed package in cold tap water, changing the water every 30 minutes. This method typically takes 2-3 hours for a 3-pound package. For emergency situations, you can use your microwave's defrost setting, but you'll need to remove the meat from its vacuum-sealed package first and transfer it to a microwave-safe container. Once you've thawed your meat using any of these methods, you'll want to cook it immediately, especially if you've used the cold water or microwave method. Don't ever thaw meat on your counter at room temperature, as this can lead to dangerous bacterial growth.
Common Vacuum Sealing Mistakes
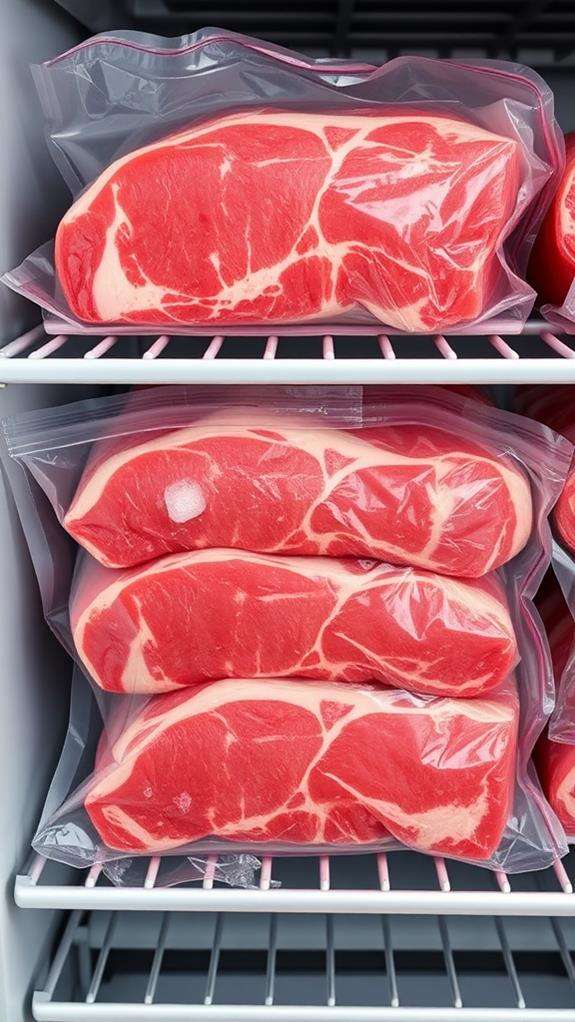
When vacuum sealing meat for freezer storage, you'll need to avoid two critical mistakes that can compromise your food's longevity. A poor sealing technique, often resulting from wrinkled or wet bags near the seal area, can create tiny channels that allow air to gradually seep in and cause freezer burn. You'll also want to guarantee you're removing as much air as possible before sealing, as trapped air pockets can lead to oxidation and reduce your meat's storage life, even in the freezer.
Poor Sealing Technique
A vacuum sealer's effectiveness depends entirely on proper technique, and even small mistakes can lead to premature freezer burn. When you're sealing meat for long-term storage, you'll need to pay attention to several critical details that can make or break your preservation efforts.
- You're leaving too much air space at the top of the bag, which prevents proper sealing and creates pockets where ice crystals can form. Always leave exactly 3 inches of space between the meat and the seal point.
- You're not wiping the sealing area clean before attempting to seal the bag, allowing moisture and food particles to interfere with the heating element's ability to create an airtight seal.
- You're rushing the sealing process and not holding the sealer down long enough, which results in incomplete or weak seals that will fail over time.
Remember that the sealing strip needs to be completely clean and dry before each use. If you notice any wrinkles or gaps in the seal, you'll need to cut the bag and start over, as these imperfections will allow air to slowly penetrate the package during freezer storage.
Not Removing Enough Air
Just as important as achieving a strong seal is removing as much air as possible from your vacuum storage bags. When you don't eliminate enough air, you're creating potential pockets where freezer burn can develop, and you're greatly reducing the meat's storage life. Even small air pockets can lead to oxidation over time, which affects both the quality and longevity of your stored meat.
You'll know you haven't removed enough air if you notice bubbles or puffiness in your sealed bags, or if the plastic isn't tightly conforming to the meat's surface. To avoid this common mistake, make sure you're following your vacuum sealer's instructions precisely, and don't rush the process. For best results, you should pre-freeze soft or moist items before sealing, as this prevents liquid from being drawn into the vacuum mechanism. If you're using textured bags, position them correctly in the sealer's channel, and wait for the machine to complete its full vacuum cycle before initiating the seal. When storing irregularly shaped cuts, smooth out any wrinkles in the bag that might trap air pockets.
Equipment and Supplies Needed
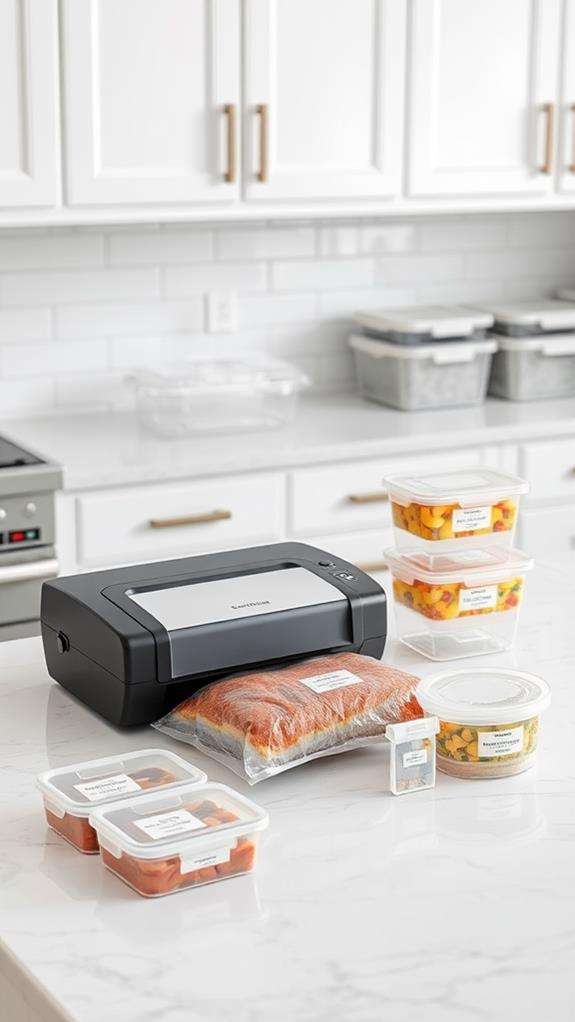
Proper vacuum sealing requires specific tools and materials to guarantee your meat stays fresh for extended periods. To achieve ideal results, you'll need a reliable vacuum sealing system that includes a high-quality sealer unit and compatible bags or rolls. The equipment you select will directly impact the longevity and quality of your stored meat.
- A vacuum sealer machine (either chamber-style or external suction model) with adjustable seal settings and reliable suction power
- Food-grade vacuum sealing bags or rolls, specifically designed for your sealer model, with proper mil thickness (3-4 mil for standard storage, 4-5 mil for longer-term storage)
- Cleaning supplies, including food-safe sanitizing wipes, paper towels, and bag cutters if using rolls
You'll also want to keep additional items on hand, such as marker pens for labeling dates and contents, and a bag holder or stand if you're working with larger cuts of meat. When selecting your equipment, consider factors like frequency of use, types of meat you'll be storing, and available storage space. Don't forget to maintain your sealer by regularly cleaning the seal bar and checking the gaskets for wear.
Labeling and Organization Tips
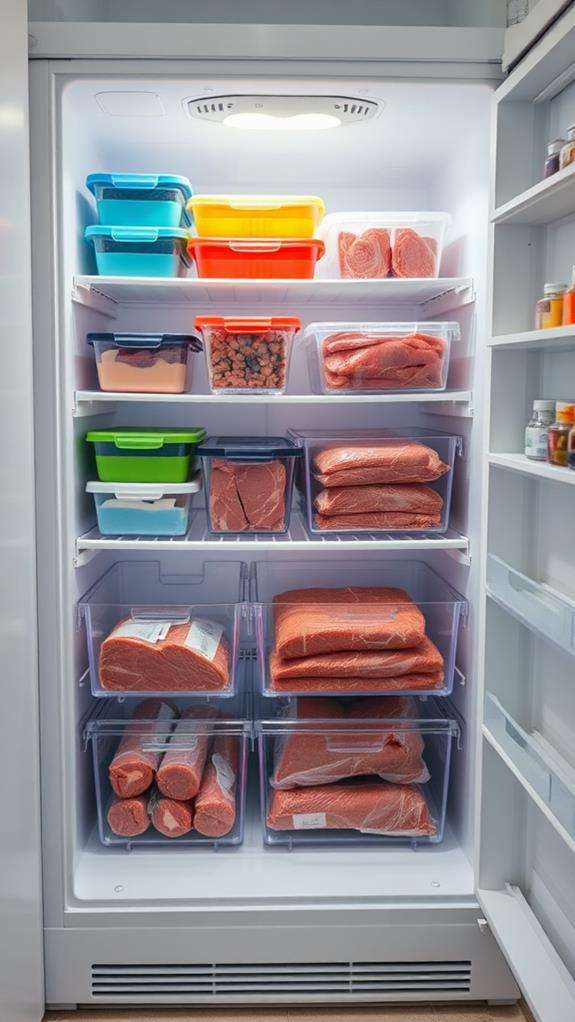
While vacuum sealing preserves your meat effectively, maintaining an organized freezer system through clear labeling guarantees you'll get the most value from your stored food. You'll want to create detailed labels that include the cut of meat, weight, packaging date, and expected expiration date. Use waterproof labels or permanent markers to prevent smudging in the freezer environment.
| Label Element | Required Info | Purpose |
|---|---|---|
| Date Sealed | MM/DD/YYYY | Track freshness |
| Cut Type | Specific cut name | Easy identification |
| Weight | Pounds/ounces | Meal planning |
| Use-By Date | MM/DD/YYYY | Rotation system |
| Storage Zone | Freezer location | Quick retrieval |
Consider implementing a zone system in your freezer, with designated areas for different meat types. You'll find it helpful to store similar cuts together and maintain a first-in-first-out (FIFO) rotation system. Keep an inventory list on your freezer door or in a digital app, updating it whenever you add or remove items. This practice helps you track what you have and prevents forgotten packages from getting buried at the bottom of your freezer.
Food Safety Guidelines
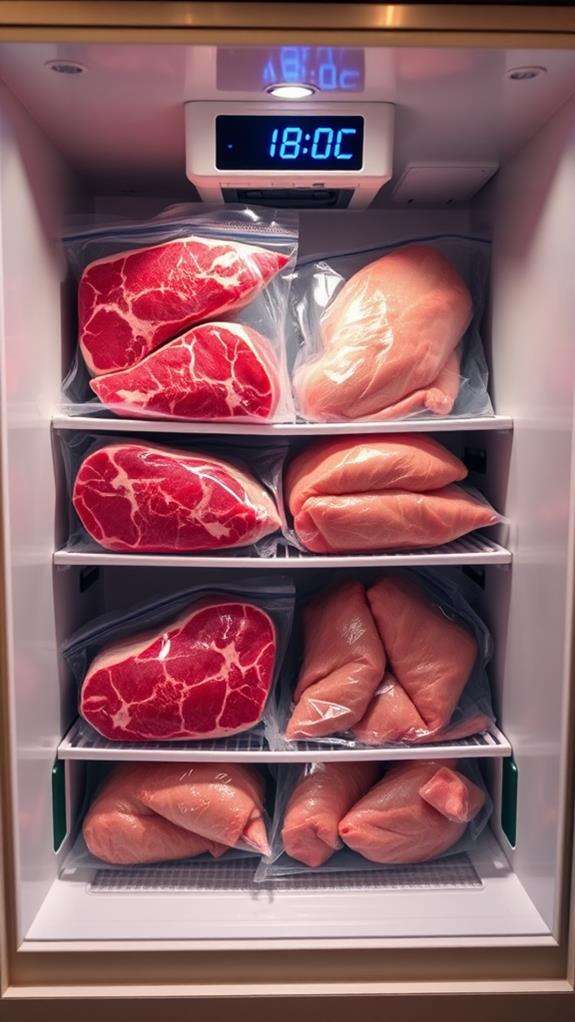
Proper food safety starts with maintaining your freezer at 0°F (-18°C) or below, which prevents bacterial growth and keeps your vacuum-sealed meat safe for extended periods. You'll need to prevent cross-contamination by storing raw meats on lower shelves, using separate cutting boards and utensils, and keeping your vacuum-sealed packages in leak-proof containers or bags. When it's time to use your frozen meat, you should thaw it gradually in the refrigerator rather than at room temperature, allowing approximately 24 hours of thawing time for every 4-5 pounds of meat.
Safe Storage Temperatures
Maintaining the right freezer temperature is important for keeping vacuum sealed meat safe and preventing bacterial growth. You'll want to keep your freezer at or below 0°F (-18°C) consistently, as temperature fluctuations can compromise food safety and quality. When storing vacuum sealed meat, it's essential to monitor your freezer's temperature using a reliable thermometer to guarantee ideal preservation conditions.
- Your freezer's temperature shouldn't rise above 0°F (-18°C), as higher temperatures allow harmful microorganisms to become active and multiply
- Place vacuum sealed meat packages in the back of your freezer where temperatures remain most stable, avoiding door storage where frequent opening causes temperature changes
- If your freezer has multiple shelves, store raw meat on the bottom shelf to prevent any potential leaks from contaminating other foods
Temperature consistency plays a significant role in maintaining your vacuum sealed meat's quality. Brief temperature fluctuations, such as those occurring during power outages or frequent door openings, can lead to freezer burn and texture changes. You'll need to minimize these fluctuations by keeping your freezer well-organized and avoiding unnecessary door openings.
Cross-Contamination Prevention
Safe storage temperatures work hand-in-hand with cross-contamination prevention to guarantee your vacuum sealed meat stays fresh and safe. When handling raw meat for vacuum sealing, you'll need to follow strict protocols to prevent bacteria from compromising your food's safety.
Always use separate cutting boards and utensils for raw meat and other foods. You'll want to sanitize your vacuum sealing workspace before and after each use, using a solution of one tablespoon of bleach per gallon of water. Don't forget to wash your hands thoroughly with soap and warm water for at least 20 seconds before and after handling raw meat.
When preparing multiple types of meat for vacuum sealing, work with one type at a time to avoid cross-species contamination. For instance, seal all your chicken before moving on to beef. Keep your vacuum sealer clean by wiping it down between batches, and replace the vacuum bags if they show any signs of damage. It's also essential to label each package with the type of meat and packaging date, helping you maintain proper rotation and avoid any mix-ups that could lead to cross-contamination during thawing.
Thawing Guidelines
The thawing process for vacuum sealed meat requires strict adherence to food safety guidelines to prevent bacterial growth. When you're ready to thaw your vacuum-sealed meat, you'll need to follow specific methods that guarantee both safety and quality preservation.
- Refrigerator Method: Place your vacuum-sealed package on a plate or in a container on the bottom shelf of your refrigerator, allowing 24 hours of thawing time for every 4-5 pounds of meat. This method's slow, controlled temperature prevents dangerous bacterial multiplication.
- Cold Water Method: If you're short on time, submerge the sealed package in cold water, changing the water every 30 minutes. You'll need about 30 minutes per pound of meat, and you must cook it immediately after thawing.
- Never Microwave Method: Don't use your microwave to thaw vacuum-sealed meat, as uneven heating creates dangerous temperature zones where bacteria can flourish.
Once your meat has completely thawed, you'll need to remove it from the vacuum-sealed package within 24 hours. If you're not planning to cook it immediately, store it in a regular container in your refrigerator, but don't keep it longer than two days.
Frequently Asked Questions
Can You Refreeze Vacuum-Sealed Meat After It Has Been Thawed?
Like a second chance at life, refreezing thawed vacuum-sealed meat is possible, but you'll need to follow strict guidelines. If you've thawed the meat in the refrigerator and it's still cold (under 40°F), you can safely refreeze it within 3-4 days. However, you'll notice some quality loss, as the meat's cell structure changes during thawing and refreezing. For best results, you should only thaw what you'll use immediately.
Does Vacuum Sealing Kill Existing Bacteria on Raw Meat?
No, vacuum sealing alone doesn't kill existing bacteria on raw meat. While it restricts oxygen and slows bacterial growth, the bacteria already present on the meat's surface remain alive. You'll need to use proper cooking temperatures to effectively kill harmful bacteria. The vacuum sealing process only creates an anaerobic environment that helps prevent new bacterial growth, but it won't eliminate any pathogens that were already there.
Should Meat Be Seasoned or Marinated Before Vacuum Sealing for Freezing?
Like a blank canvas before painting, your meat should be free of seasonings before vacuum sealing for freezing. You'll want to freeze your meat plain, as salt and marinades can change the meat's texture and potentially speed up oxidation during storage. If you're planning to season or marinate, it's best to do so after thawing when you're ready to cook. This method gives you more flexibility with flavors and better preserves the meat's quality.
Can Vacuum-Sealed Frozen Meat Be Cooked Without Thawing First?
While you can cook vacuum-sealed frozen meat directly, it's not always the best choice. You'll need to increase cooking time by about 50%, and the results might be less even. For food safety, you should guarantee the internal temperature reaches 165°F. It's generally better to thaw first, as this allows for more consistent cooking and better flavor development, especially with larger cuts of meat.
What Happens if Small Air Bubbles Remain in Vacuum-Sealed Meat Packages?
Small air bubbles in your vacuum-sealed meat packages can lead to freezer burn and quicker spoilage, even in frozen storage. You'll notice that these trapped air pockets allow ice crystals to form, which can damage the meat's texture and flavor. While the meat's still safe to eat, you won't get the full preservation benefits of vacuum sealing. For best results, you should reseal the package if you spot significant air pockets.


